
Last updated November 15, 2026
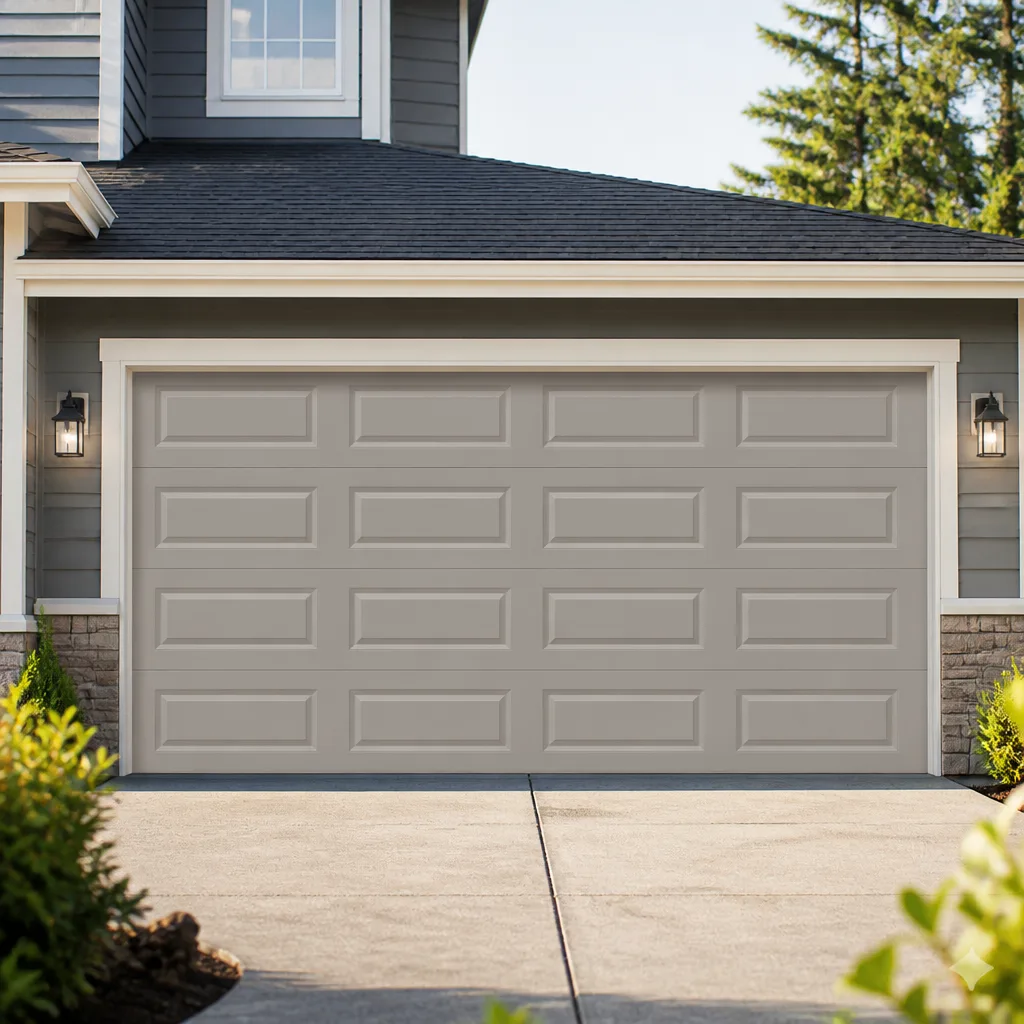 Raised-panel steel
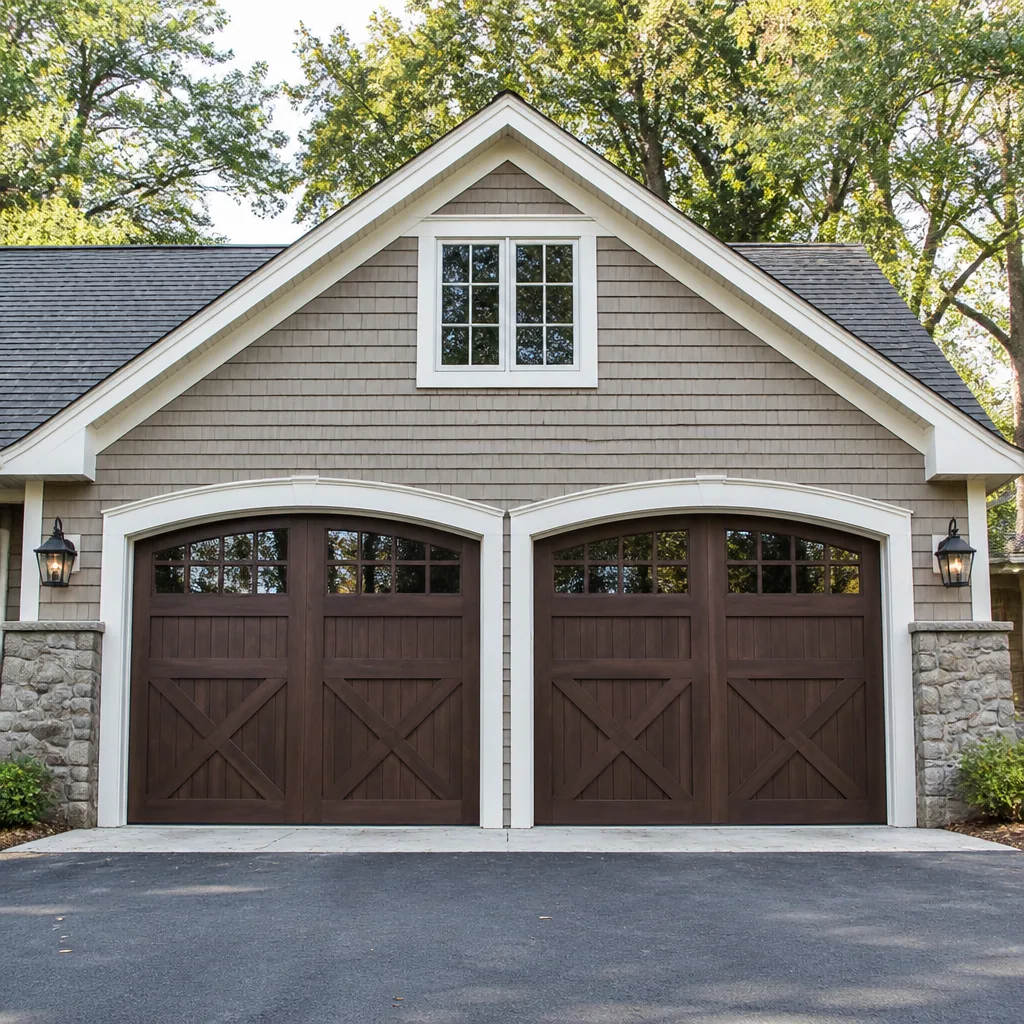 Carriage house
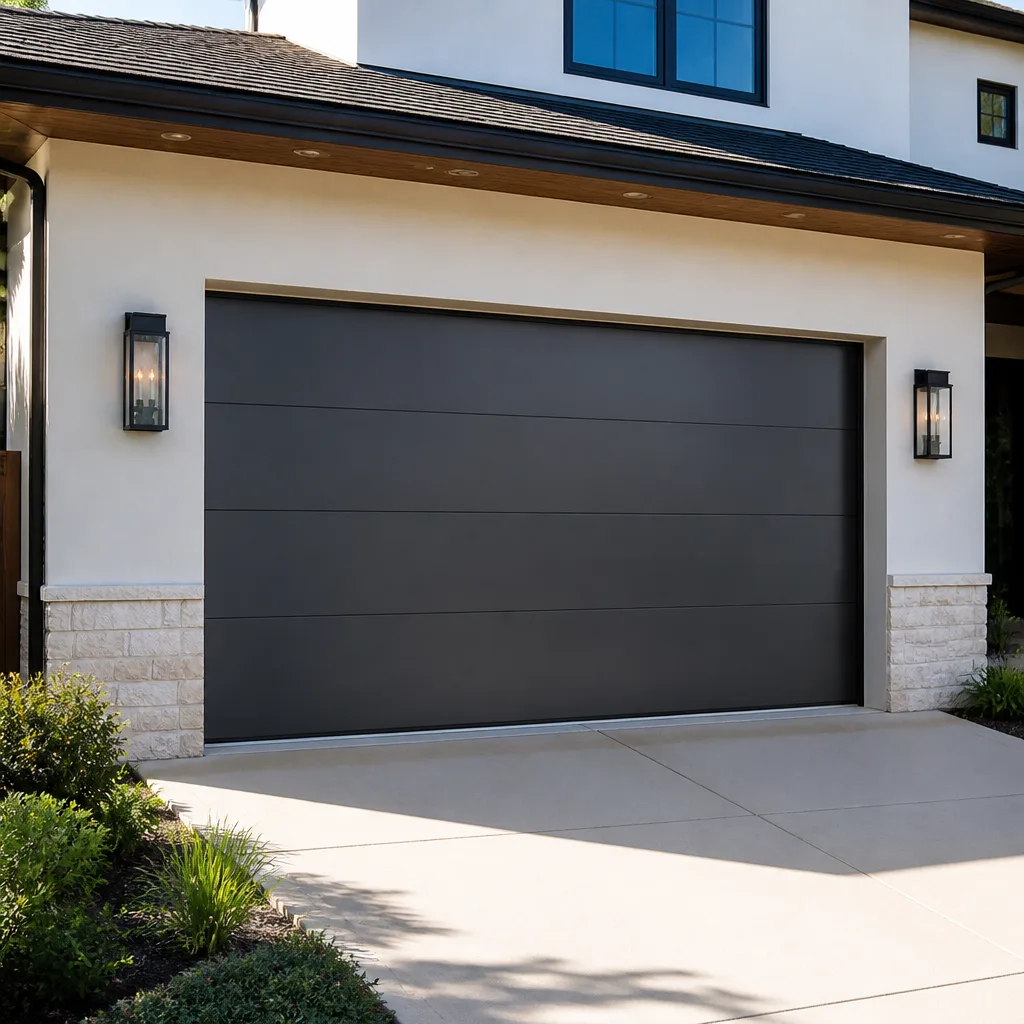 Modern flush
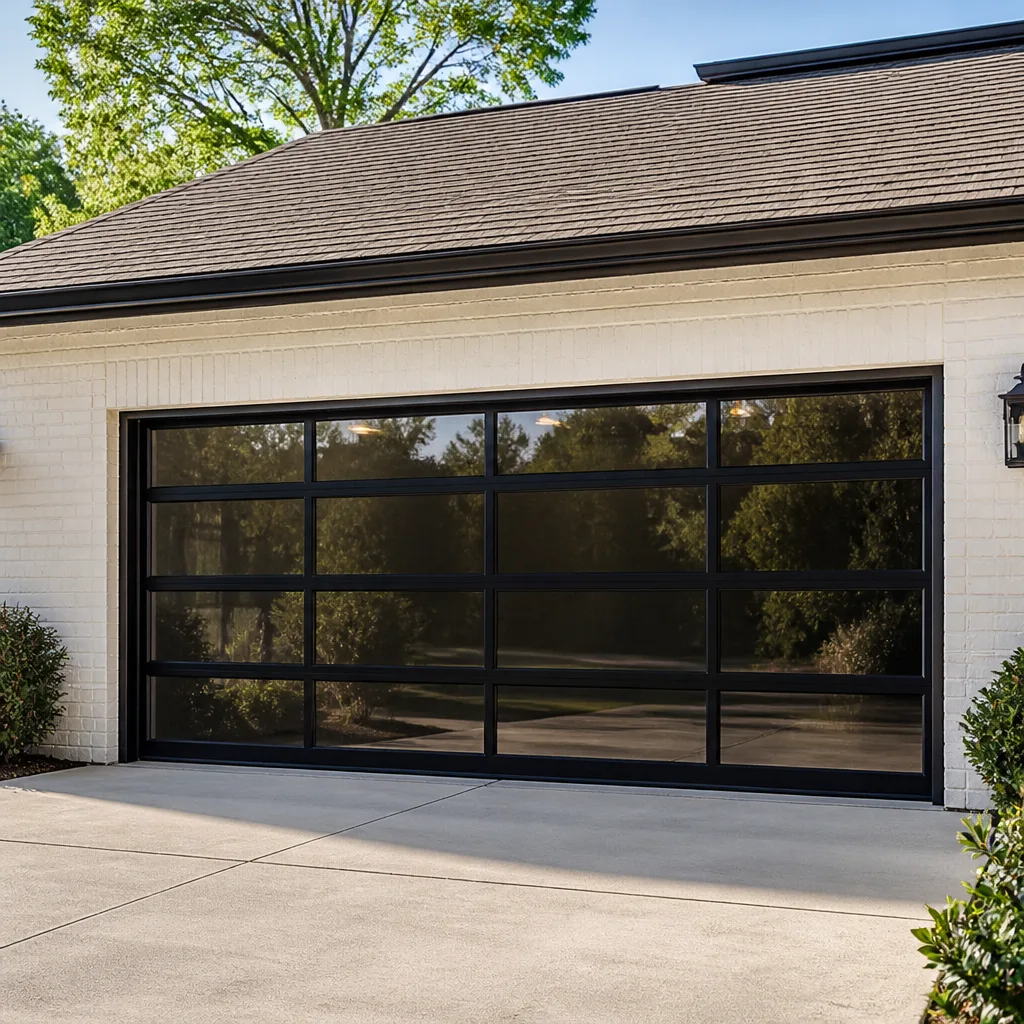 Full-view glass
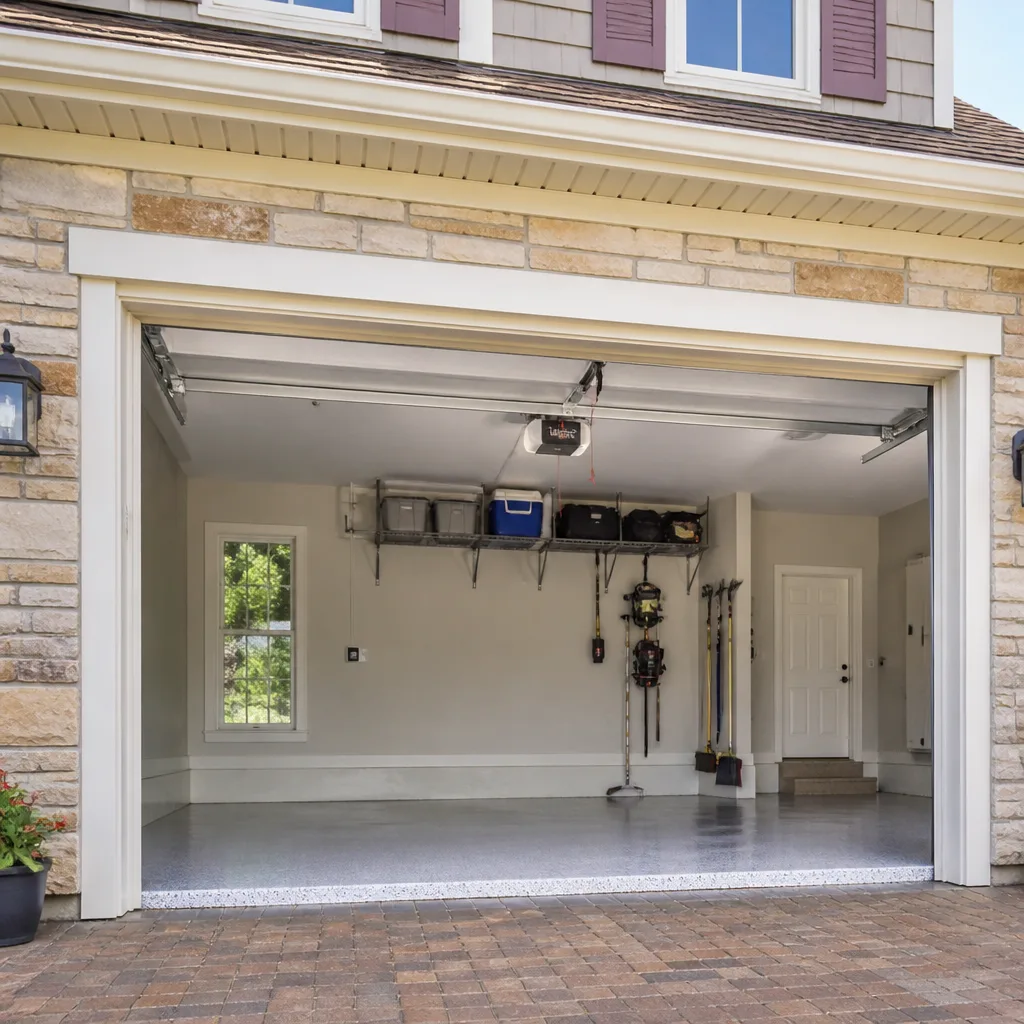 LiftMaster openers
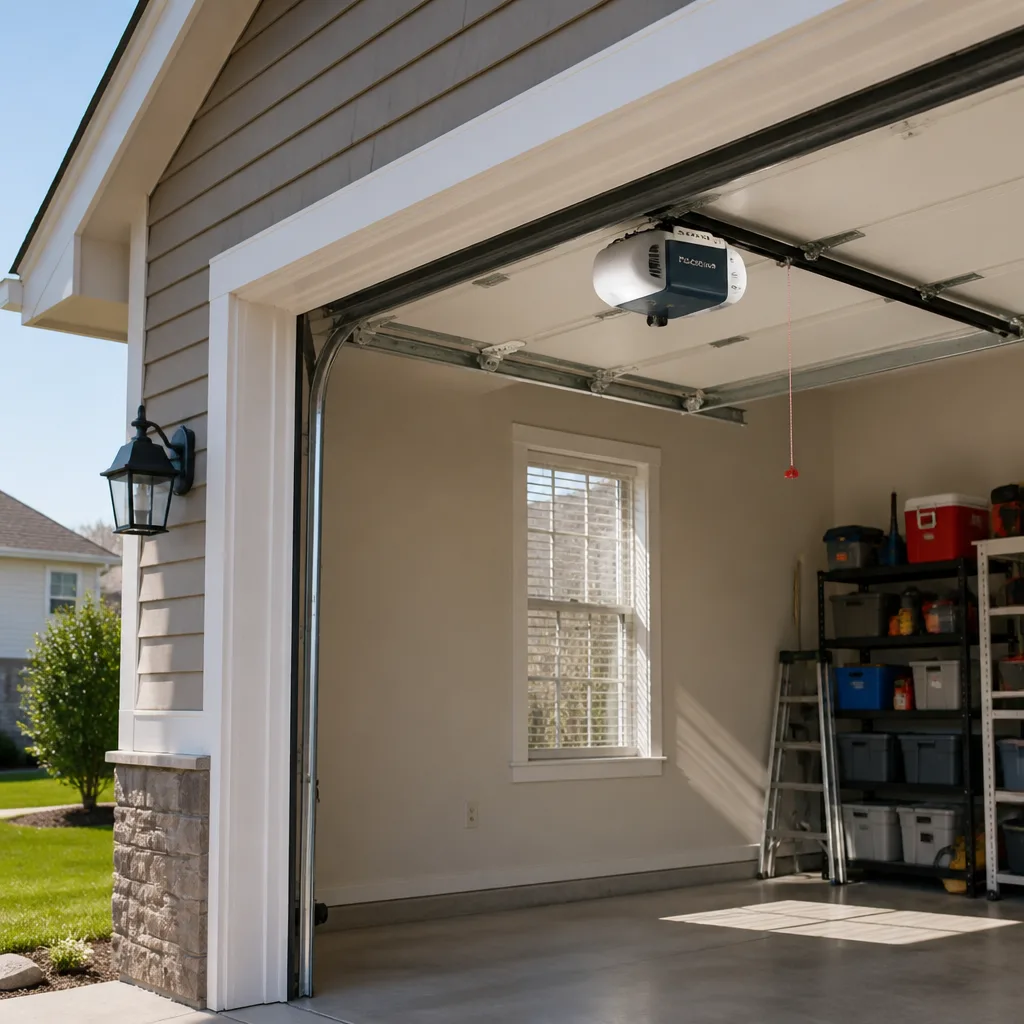 Chamberlain openers
Full 25-point door and opener safety check with every visit - springs, cables, rollers, tracks, and your LiftMaster or Chamberlain opener included
You get a price before we start. It does not change when the pro arrives.
Get your free estimateSeasonal Garage Door Care for Santa Maria: Year-Round Homeowner’s Guide
Santa Maria‘s lack of freezing winters isn’t a reason to skip seasonal garage door care – it’s the reason most homeowners are years behind on maintenance they don’t realize they need. When you don’t get a hard freeze to remind you that seals shrink or a heavy snowpack to force you into the garage for a winter tune-up, the slow stuff sneaks up. Bottom seals dry out quietly. Track bolts work loose. Openers start straining against a door that’s drifted out of balance, and nobody notices until the thing stops halfway up. This guide walks through the seasons as they actually happen here: marine layer, dry wind, fire weather. By the end you’ll know what to check, when to check it, and when to put the tools down and call someone.
Styles & brands we work with
- Raised-panel steel
- Carriage house
- Modern flush
- Full-view glass
- LiftMaster openers
- Chamberlain openers
Quick Answer
Garage door care in Santa Maria follows a seasonal rhythm tied to humidity, dry wind, and fire weather rather than snow and ice. Check your bottom seal and panel joints during marine layer season, run a balance and spring test at the end of it, watch cable slack during the fall dry-wind months, and clear tracks and seal gaps before fire season. Any metal or electrical work on springs, cables, or opener wiring needs a trained technician.
Table of Contents
- Why Santa Maria’s Seasons Matter More Than You Think
- Marine Layer Season (May – July): Humidity and What It Does
- Dry Wind Season: How Low Humidity and Temperature Swings Move Your Springs
- Fire Season Prep: Debris, Ember Gaps, and Door Seals
- The Annual Spring Balance Test: Timing It Right
- After a Multi-Day Power Outage: What to Inspect
- Opener Care Across the Year
- Master Seasonal Checklist for Santa Maria Homeowners
- Common Mistakes to Avoid
- When to Call a Professional
- Frequently Asked Questions
- The Bottom Line
Why Santa Maria’s Seasons Matter More Than You Think
Most garage door maintenance advice is written for places that get real winters. It assumes the cold will do the damage and the thaw will reveal it. Santa Maria doesn’t work that way. Here, the damaging cycles are subtler – sustained humidity in early summer, dry winds in fall, and the temperature swings that come with both. Those cycles stress different parts of the door, and they stress them slowly.
A door in Santa Maria might go years without anyone thinking about its balance or its seals, because nothing dramatic forces the issue. Then one morning the opener grinds, or the door stops closing flush, or you notice daylight under the bottom edge. The problem didn’t appear overnight. It built up through several seasons of small changes that nobody was watching for.
That’s the whole case for seasonal care here. Not because Santa Maria has brutal weather, but because it’s easy to ignore. A few minutes of inspection at the right times of year catches the slow stuff while it’s still cheap to fix. Miss those windows and you’re usually looking at a repair instead of a checkup.
The seasons we’ll use in this guide aren’t the calendar’s official ones. They’re the ones Santa Maria homeowners actually feel: the marine layer stretch in late spring and early summer, the dry wind and low-humidity stretch in fall, fire weather in between and around those, and the quiet periods that are the best time to test and tune. Once you start tracking your door through those cycles, the maintenance stops feeling arbitrary.
Marine Layer Season (May – July): Humidity and What It Does
Sustained humidity is the defining garage door stressor of Santa Maria’s early summer. When the marine layer sits for weeks, the air in your garage stays damp longer than the rest of the year, and that dampness attacks the parts most people never look at: the bottom seal, the panel joints, and the opener’s circuit board.
Here’s what we see as the three main humidity effects:
- Bottom seals degrade faster. The rubber or vinyl seal that runs along the bottom of the door takes the most contact with the ground and the most moisture. Under sustained damp, seals stiffen, crack, or pull away from the door’s bottom edge. A split seal lets air, water, and debris under the door and puts uneven pressure on the panel above it.
- Panel joints take on moisture. Steel doors have seams and joints, and wooden or wood-composite doors have more of them. In a damp stretch, those joints can swell or hold moisture against fasteners. Look for rust trails at the seams, discoloration on wood panels, or screws that have started to back out.
- Opener electronics suffer. Circuit boards inside LiftMaster, Chamberlain, and Genie units don’t love damp air, especially if the opener housing is mounted where the marine layer condenses on it. Intermittent behavior – a remote that works sometimes, a light that flickers, a door that reverses for no apparent reason – often shows up in this stretch.
The practical move during marine layer season is a simple monthly walk-around. Run a hand along the bottom seal and feel for soft spots, cracks, or sections that have pulled away. Look at the panel seams for rust lines or water staining. Listen to the opener on each cycle for any new clicking or hesitation. These checks take five minutes and they catch the early stages of problems that get expensive later.
If your door has wooden panels, pay extra attention to the bottom edges and the joints near the ground. Wood in a humid garage is the slowest problem to show and the most costly to reverse once it’s set in. A seal that keeps moisture away from the wood is doing more work than most homeowners realize. Replacement seals are inexpensive and easy to fit, and getting one on before the humid stretch ends the problem instead of inviting it.
If you’re seeing opener symptoms that persist past the humid stretch – repeated reversing, remote dropouts, a motor that runs but doesn’t lift – that’s the point to have it looked at rather than waiting for it to fail completely. Our garage door opener repair service covers the electronics and drive systems on these units specifically, and it’s the kind of thing that’s much easier to diagnose when it’s intermittent than when the door has stopped moving entirely.
Dry Wind Season: How Low Humidity and Temperature Swings Move Your Springs
The fall dry season in Santa Maria brings low humidity and bigger temperature swings between day and night. Those swings do something specific to your door: they change the tension in the torsion springs and the amount of slack in the cables, cycle by cycle. Over a fall, a door that was tuned in June can be noticeably out of balance by November.
Why does humidity matter to a metal spring? It’s not the metal itself – it’s everything the spring is attached to. Wood and composite door panels expand and contract with humidity changes. When the panels move, the load on the spring changes even though the spring didn’t touch anything. In a dry stretch, panels shrink slightly, the door gets fractionally lighter, and the spring is now over-tensioned for the door it’s lifting. The door might rise faster than it should, or the opener might have to work harder to hold it closed.
Cables are the other half of the equation. In a dry stretch, cables can loosen slightly, and slack in a cable is a warning sign. A cable that’s visibly loose, that’s sitting off its drum, or that has started to fray at the ends is telling you something has changed in the system. If you see any of that, stop using the door and have it looked at. A snapped cable on a torsion-spring door is dangerous – the door can drop – and it’s not something to diagnose yourself.
During the dry season, the checks that matter most are:
- Visual cable inspection. With the door closed, look at both cables running from the bottom corners up to the drums. They should be taut and evenly wrapped. Any fraying, kinks, or visible slack means stop and call.
- Listen for a change in sound. A door that’s gotten louder, that bangs at the end of its travel, or that shudders during the lift is telling you the balance has drifted.
- Check the gap at the bottom. In a dry stretch, panels can shift and the bottom edge can lift unevenly. If you can see daylight under the door in one spot and not another, the door isn’t sitting square.
- Watch the opener’s effort. If the opener seems to strain more at certain times of day than others, that’s the temperature swing working on the balance of the door.
None of these are things you fix with a wrench. They’re things you notice, and then you have a technician check them. Springs under tension are genuinely dangerous to adjust without the right tools and training, and cables are the same. We include this section because the dry season is when these problems first show up, not because there’s a safe way to fix them yourself.
Fire Season Prep: Debris, Ember Gaps, and Door Seals
Before fire season, the job is reducing the ways your garage can take in embers and the debris that comes with high wind. This isn’t about fireproofing your door. It’s about making sure the door isn’t an easy opening, and about clearing the stuff that high wind blows against it and into the tracks.
Two things matter most: the bottom seal gap and the tracks.
The bottom seal is your door’s primary barrier against the outside. If it’s cracked, pulled away, or missing sections, you have a continuous gap running the width of the door. In fire weather, that gap is a path for embers. It’s also a path for wind-blown dust and debris that accumulate against the bottom edge and under the door. A seal in good condition closes that gap completely. A seal in bad condition doesn’t close anything reliably.
The tracks collect whatever the wind brings. Leaves, dust, small twigs, and grit settle into the track channels, and enough of it will make the door drag or hesitate on its way up and down. Before and during fire season, clear the tracks by hand – no need to lubricate them with anything that will attract more grit. Just get the debris out and check that the door runs cleanly afterward.
A useful pre-fire-season check, in order:
- Run a hand along the full bottom seal. Look for cracks, splits, and any spot where the seal has separated from the door’s bottom edge. Replace the seal if you find any.
- Clear both tracks from top to bottom. Remove debris by hand and check that the rollers sit cleanly in the channels afterward.
- Check the gap at the sides and top. Look for daylight or wind gaps around the door’s perimeter. These are small openings, but in high wind they let debris in and let air movement through.
- Test the door’s full cycle once. Open and close it fully after clearing the tracks to make sure nothing is dragging or binding.
If any part of that check turns up a problem – a seal that needs replacing, a door that’s binding after the tracks are clear, rollers that are worn – that’s the time to have it handled, not during the middle of a wind event when scheduling is harder. Fire season prep is a small job when it’s done in advance and a much bigger one when it isn’t.
The Annual Spring Balance Test: Timing It Right
The best time for your annual balance test is right at the end of marine layer season, when conditions are most stable. Humidity has settled, the temperature swings are smaller, and the door is behaving as closely to its baseline as it does all year. A balance test run then tells you what you actually need to know. A test run in the middle of a dry stretch can give you a false “out of balance” reading that’s just the season talking.
Here’s how a balance test is done safely. Note that this is a check, not an adjustment – you’re testing whether the door is balanced, not fixing it.
- Disconnect the opener. Pull the emergency release cord so the door is running on its springs alone. Do this with the door in the closed position.
- Lift the door to about waist height by hand. It should feel manageable – a balanced door is one a person can lift.
- Let go. A balanced door stays where you left it, maybe drifts an inch or two. If it drops on its own, the springs are under-tensioned. If it rises on its own, they’re over-tensioned.
- Reconnect the opener. Pull the release cord back to re-engage the carriage with the opener.
What you’re looking for is drift. A door that drifts a little at waist height is fine. A door that drops quickly, that rises on its own, or that feels much heavier than it used to is not balanced, and the door is doing work the springs should be doing. That puts strain on the opener and wear on the panels, and it’s a sign to have a technician look at the spring system.
A balance test does not include adjusting the springs. Torsion springs are under enough tension to cause serious injury, and adjusting them requires specific tools and training. The test tells you whether to call. The adjustment is the call. We say this plainly because we’ve seen the results of a homeowner who tried to tighten a spring with a pair of vice grips, and it’s not a risk worth taking to save a service visit.
Run the balance test once a year, and run it again any time the door’s behavior changes noticeably – after a month of dry wind, after a power outage, after any work that involved the opener or the door. It’s the single most useful diagnostic a homeowner can do, and it takes two minutes.
After a Multi-Day Power Outage: What to Inspect
Multi-day outages force repeated use of the emergency release cord, and that repeated use is where things go wrong. The opener’s carriage runs on the rail when the door is engaged. When you pull the release cord, the carriage disengages and the door runs on its springs by hand. Pull that cord several times over several days and the re-engagement mechanism, the carriage position on the rail, and the door’s balance all get jostled in ways they don’t during normal use.
When the power comes back, the first thing to check is re-engagement. Pull the release cord back so the carriage re-engages with the opener, then run the opener through one full open and close while you watch the door. If it lifts cleanly and closes fully with no odd sounds, you’re probably fine. If the opener runs but the door doesn’t move, the carriage isn’t engaged. If the door moves but not smoothly, something drifted during the outage.
After that, check these:
- Balance. Run the balance test described in the previous section. Several days of manual operation can leave the door slightly out of balance, and it’s worth knowing.
- The safety reverse. With the door closing, pass an object through the light beam if your opener has one – the door should reverse. If it doesn’t, the safety system needs attention before the door is used again.
- The carriage and rail. Look at the carriage on the rail. It should be sitting in line with the rail, not cocked to one side. Any misalignment means it needs to be reset.
- The release cord itself. Check that the cord has re-engaged fully and isn’t hanging loose. A cord that’s partially engaged can disengage mid-cycle, which is the last thing you want.
- Opener behavior. If your LiftMaster, Chamberlain, or Genie opener now lights up but doesn’t respond to the remote, the opener may have lost its programming during the outage. That’s usually a re-sync, not a repair.
If any of those checks turns up a problem – a safety reverse that doesn’t work, a carriage that won’t re-engage, an opener that won’t respond after re-syncing – that’s when to have it looked at. A safety system failure is the one thing on this list that absolutely can’t wait. The door should not be operated automatically until it’s been checked.
If you’re on Vandenberg AFB or anywhere in the Santa Maria area and you’re dealing with the after-effects of an outage, our garage door repair service covers carriage re-engagement, safety reverse failures, and the balance issues that show up after manual operation. It’s the kind of thing that’s simple to fix when it’s diagnosed properly and frustrating to fix by trial and error.
Opener Care Across the Year
Your opener works every day and gets almost no attention until it complains. The good news is that opener care mostly overlaps with the rest of this guide. The bad news is that opener problems that would be minor in a car get diagnosable in a garage door, because the opener is the one part of the system that talks to you through sound and behavior.
Across the year, the opener checks that matter are:
- Listen on every cycle. A healthy opener has a consistent sound. Clicking, grinding, or a motor that surges are all signs of something changing.
- Watch the safety reverse once a month. The light beam on most openers is the safety feature that stops the door from closing on something. If it’s been bumped out of alignment or has a dirty lens, the door may close anyway. Test it monthly.
- Check the force setting if the door is out of balance. Most openers have a force adjustment that compensates for a slightly out-of-balance door – but compensating is not fixing. If the door is unbalanced, fix the balance rather than turning up the force.
- Keep the opener housing dry and clear. Circuit boards inside LiftMaster, Chamberlain, and Genie units are sensitive to sustained damp. During marine layer season, make sure there’s no standing moisture near the unit.
- Re-sync after outages. After a long outage, the opener may need to be re-paired with its remotes. Do that before you assume the opener has failed.
Opener repair is a named service for a reason. These units have specific electronics and drive systems – belt-drive, chain-drive, screw-drive, and smart openers each behave differently, and the diagnostic path is not interchangeable. A technician who works on openers specifically will figure out whether a problem is the logic board, the capacitor, the drive system, or the door it’s attached to. A generalist handyman will often replace the opener to avoid the diagnosis, which is the opposite of what a homeowner in a brand-agnostic service model wants.
Our technicians have up to 15 years of experience with the major opener brands, including LiftMaster, Chamberlain, and Genie, and the diagnostic approach is the same: find the actual problem, then decide whether it’s repair or replacement. Most of the time it’s repair.
Master Seasonal Checklist for Santa Maria Homeowners
Here’s the full year in one checklist, organized by season rather than month. Use it as a reference when you do your walk-around. Each item is something you can check yourself; the ones that require a professional are noted.
- Marine layer season (May – July). Monthly bottom seal inspection for cracks and separation. Panel seam check for rust or discoloration. Listen to the opener on every cycle for new sounds. Note any remote dropouts or intermittent reversing.
- End of marine layer season (late July / early August). Annual balance test with the opener disconnected. Cable visual inspection for slack or fraying. Safety reverse test on the opener.
- Fall dry season. Cable visual inspection again, more frequently. Watch for balance drift – a door that rises or drops on its own during the balance test. Note any increase in opener strain.
- Pre-fire-season. Clear both tracks by hand. Inspect the full bottom seal for gaps. Check side and top gaps for daylight. Run one full cycle after clearing to confirm no binding.
- After any multi-day power outage. Confirm carriage re-engagement. Re-run the balance test. Test the safety reverse. Inspect the release cord. Re-sync remotes if the opener doesn’t respond.
- Any time you hear a change. New sounds, new strain, new drift on the balance test. This is the item that catches most problems before they become repairs.
The one thing not on this checklist is spring adjustment or cable replacement. Those are professional work, both because the parts are under dangerous tension and because the safe way to replace them requires knowing the door’s specific weight and spring specs. The checklist tells you when to call. The call is the solution.
Common Mistakes to Avoid
- Skipping seasonal checks because the climate is mild. Mild weather is exactly why Santa Maria homeowners get behind. There’s no hard freeze to force a tune-up, so the slow problems – seal degradation, balance drift – build up for years before anyone notices.
- Ignoring the bottom seal until it’s visibly failing. A seal that’s cracked or pulled away does nothing to keep moisture, debris, or embers out. By the time you can see daylight under the door, the seal has been failing for a season or more.
- Adjusting springs yourself. Torsion springs are under enough tension to seriously injure someone who doesn’t know how to handle them. The balance test tells you there’s a problem; the adjustment is a professional call.
- Turning up the opener’s force setting to compensate for an unbalanced door. The force setting is designed to accommodate a small amount of imbalance, not to mask a door that’s out of balance. Turning it up puts strain on the opener and the door instead of fixing the actual cause.
- Using the emergency release cord repeatedly without checking re-engagement. A power outage forces manual operation, and several days of it can leave the carriage slightly off. Always test re-engagement and run a full cycle after an outage before trusting the door.
- Assuming a quiet opener is a healthy opener. A door that’s out of balance can operate quietly but strain the opener and wear the panels. Run the balance test annually at minimum, and after any noticeable change in behavior.
- Leaving fire-season debris in the tracks. Debris in the tracks is a small problem in calm weather and a door-bind waiting to happen in wind. Clear the tracks before fire season and any time after a wind event.
When to Call a Professional
You should call a professional for anything involving springs, cables, opener electronics, or a safety reverse that doesn’t work. Those are the parts where the work itself is dangerous or where the diagnosis requires training. You should also call if the balance test shows a door that drops or rises on its own, if the door binds after the tracks are clear, if the bottom seal needs replacing, or if the opener has developed symptoms that persist after re-syncing and basic checks.
And you should call if you’re not sure. A technician can look at the door and tell you whether it’s a small fix or a larger one, and the estimate is free. Halo Garage Door Repair offers free estimates in Santa Maria – call (866) 361-7506. We answer 24/7, with fast dispatch from 7am to 7pm, Sunday through Friday. Whether it’s a door that’s been ignored for a few seasons or one that just started behaving strangely, the diagnosis comes before the recommendation. That’s the standard we work to.
We handle Halo Garage Door Repair work across the three services we’re built for: door repair, opener repair, and new installation. That division is deliberate. It means a door that’s out of balance gets fixed as a door problem, an opener that’s behaving oddly gets diagnosed as an opener problem, and a door that actually needs replacing gets quoted as an installation. Not every problem needs a replacement. The right fix, not the easiest upsell.
Frequently Asked Questions
Once a year is the standard for most Santa Maria homes, ideally at the end of marine layer season when conditions are stable enough to get an accurate read on the door’s balance and spring condition. If your door gets heavy daily use, or if you’ve had an outage or noticed a change in behavior, a second check during the year is worth it. The seasonal checks you do yourself in between are what make the annual service a checkup instead of a repair.
Yes – and more than you would in a place with harsh winters. In a cold climate, the seasons force maintenance because problems become obvious fast. In Santa Maria, the problems are slower and easier to miss. Seal degradation, balance drift, and opener strain build up over several seasons, and the first sign most homeowners get is a door that stops working. Seasonal checks catch them while they’re still small. Call (866) 361-7506 if you want to have the door looked at before the next season starts.
No. Torsion springs are under enough tension to cause serious injury, and adjusting them requires specific tools and training. A balance test tells you whether the door is out of balance, but the adjustment itself is professional work. If your balance test shows a problem, have a technician handle it. This is the one item on the seasonal checklist that should never become a DIY project.
Check three things first: that the carriage has re-engaged with the opener, that the door runs through a full open-and-close without odd sounds, and that the safety reverse is working. Then run the balance test and inspect the release cord. If the opener doesn’t respond to the remote after re-syncing, or if the safety reverse doesn’t work, call a technician before using the door automatically. A safety system failure is the one item that can’t wait.
The written estimate is the price. We quote based on what the door actually needs, and the number you agree to before work starts is the number you pay. The estimate is free, and there’s no charge for the diagnosis. Call (866) 361-7506 and we’ll walk through what you’re seeing and set up an estimate.
Yes. We work on LiftMaster, Chamberlain, Genie, Clopay, Amarr, Wayne Dalton, Craftsman, and Raynor equipment, and our opener repair service covers belt-drive, chain-drive, screw-drive, and smart openers specifically. The diagnostic approach is brand-agnostic: we find the actual problem, then recommend the fix. You won’t hear “we don’t service that” from us. Call (866) 361-7506 to set up an estimate.
The Bottom Line
Seasonal garage door care in Santa Maria isn’t about dramatic weather. It’s about catching the slow stuff that a mild climate lets you ignore. Check the bottom seal and panel seams through marine layer season. Run the balance test at the end of it, when conditions are stable. Watch cable slack and balance drift through the dry-wind stretch. Clear the tracks and seal gaps before fire season. Re-inspect the carriage and safety reverse after any multi-day outage. None of that takes much time, and all of it catches problems while they’re small. The spring and cable work stays with a trained technician – that’s not a do-it-yourself job in any climate.
If you’d like a technician to look at your door, or if you’re not sure what you’re seeing, call (866) 361-7506 for a free estimate. We answer 24/7, with fast dispatch from 7am to 7pm, Sunday through Friday. It’s the simplest way to get a straight answer about your door in Santa Maria.
Written by the team at Halo Garage Door Repair.
See the difference
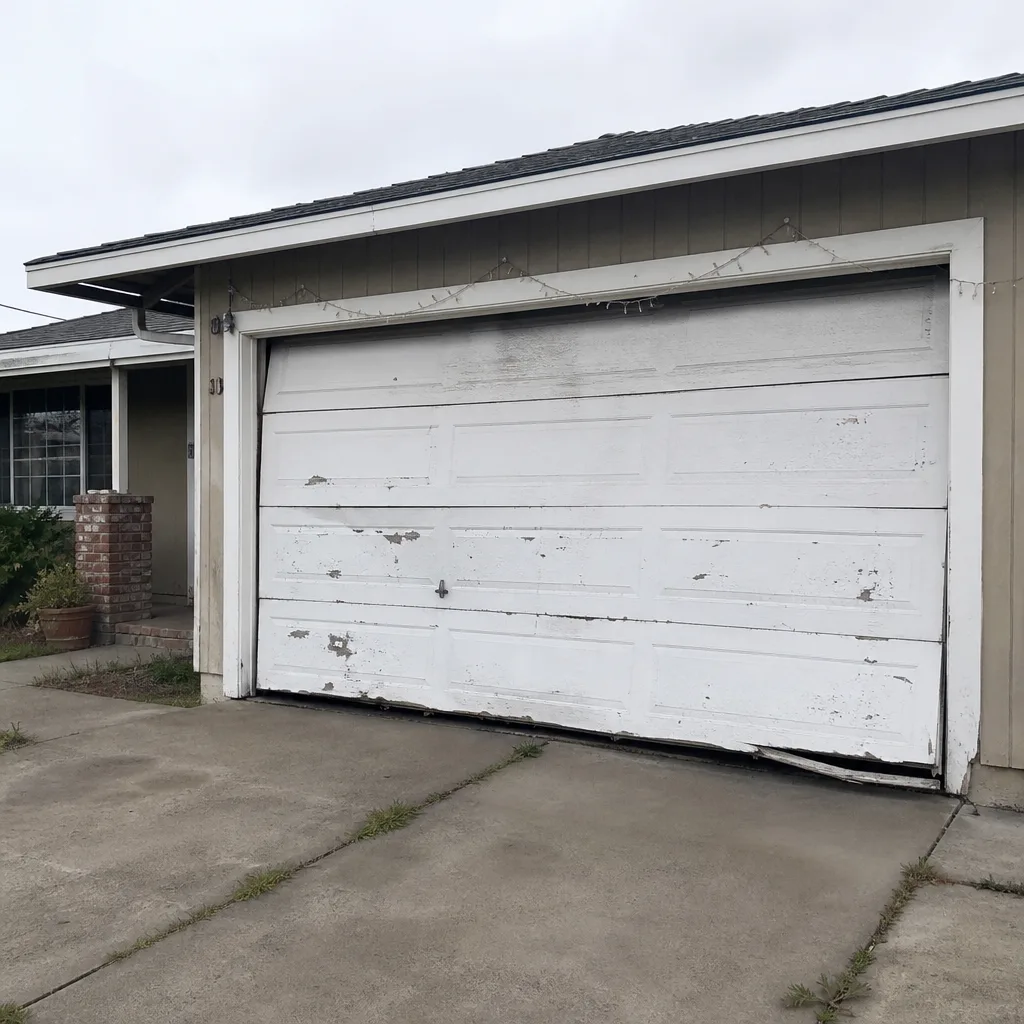 Before
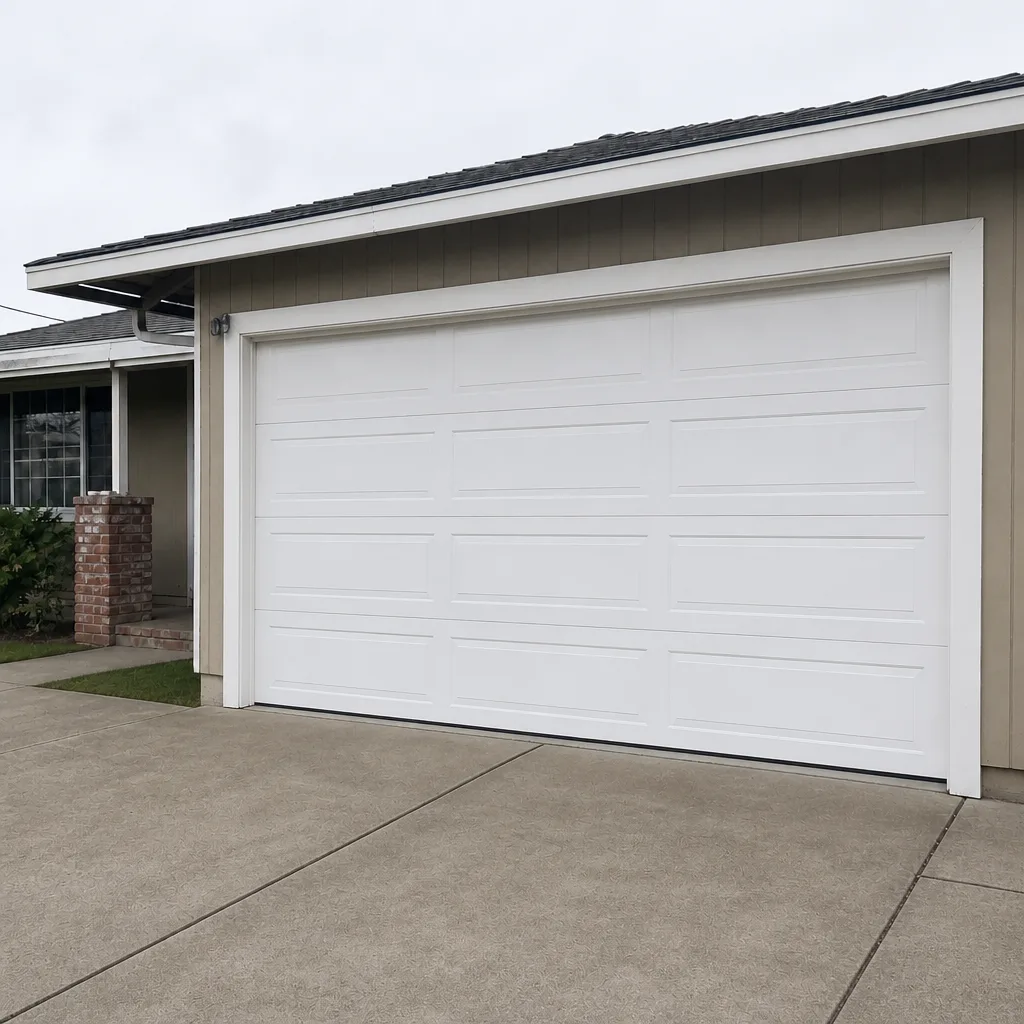 After
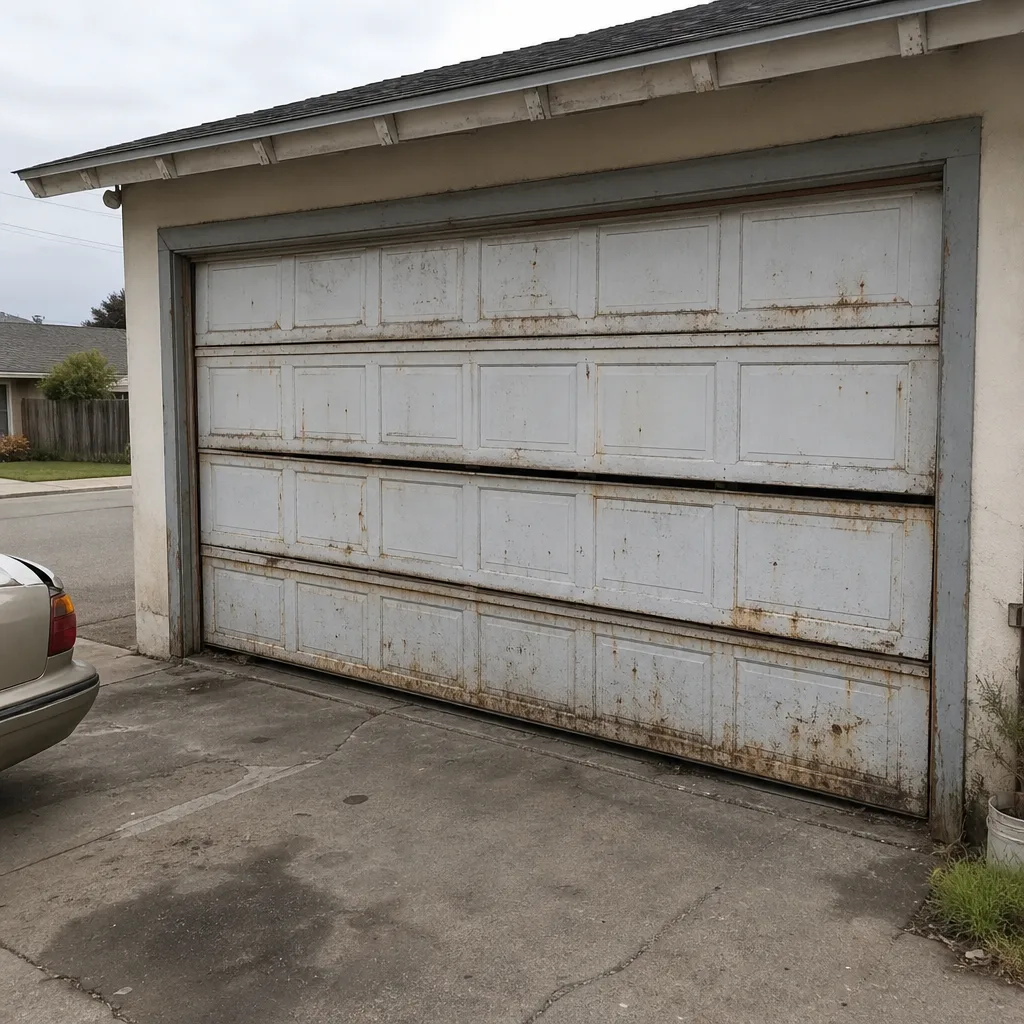 Before
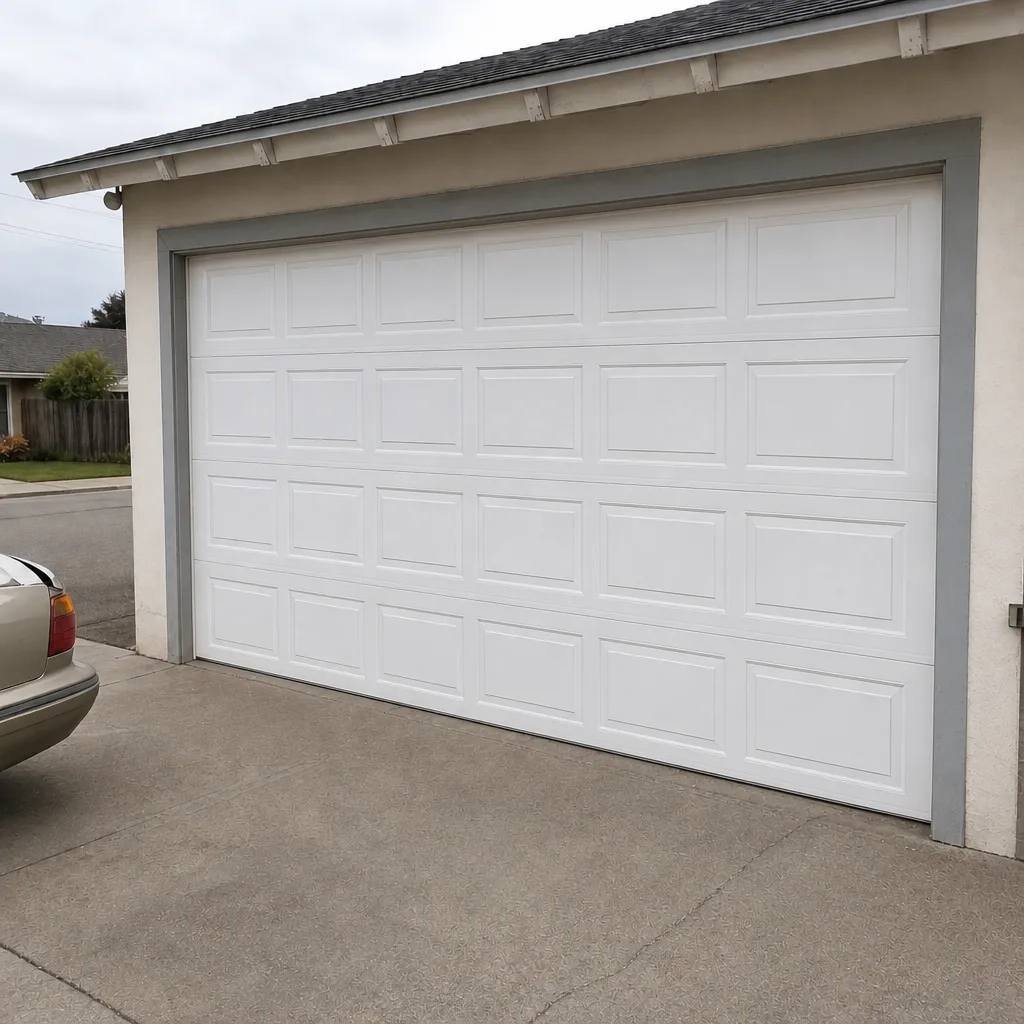 After
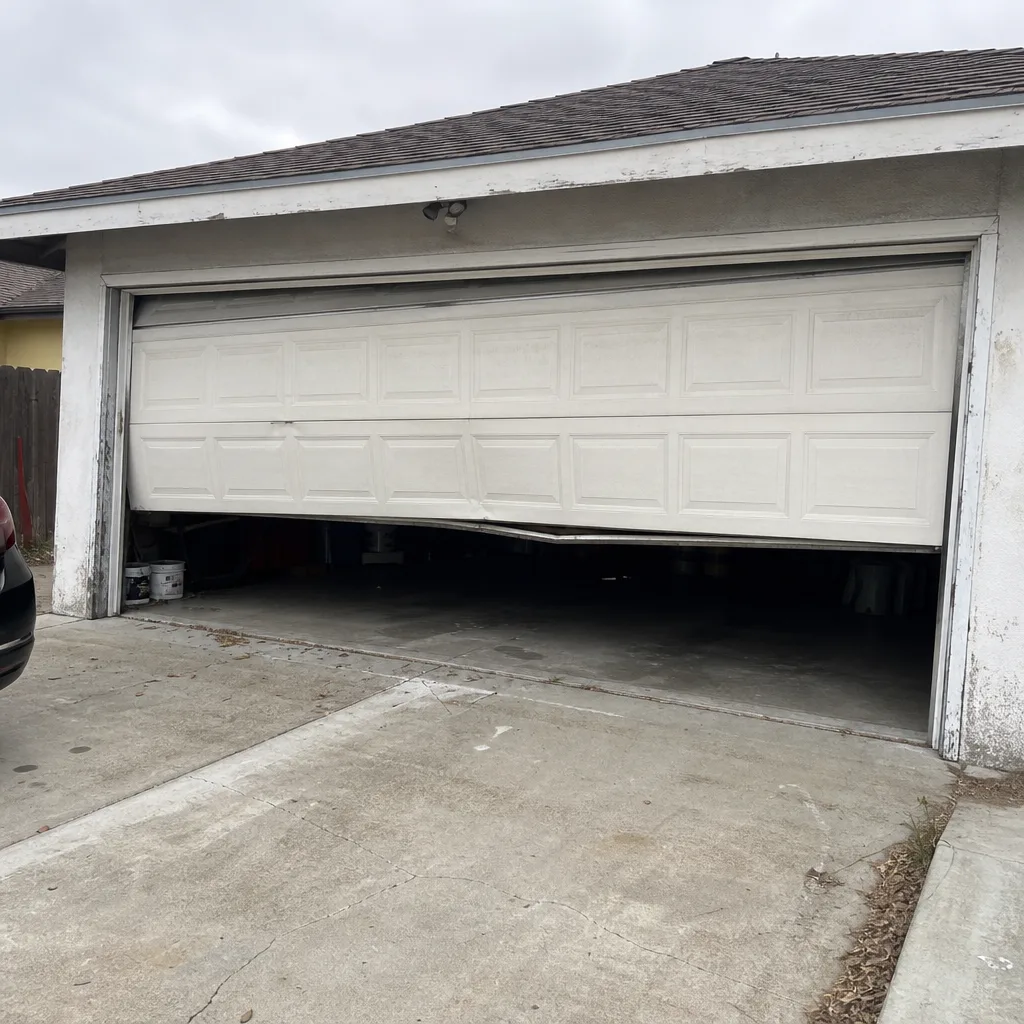 Before
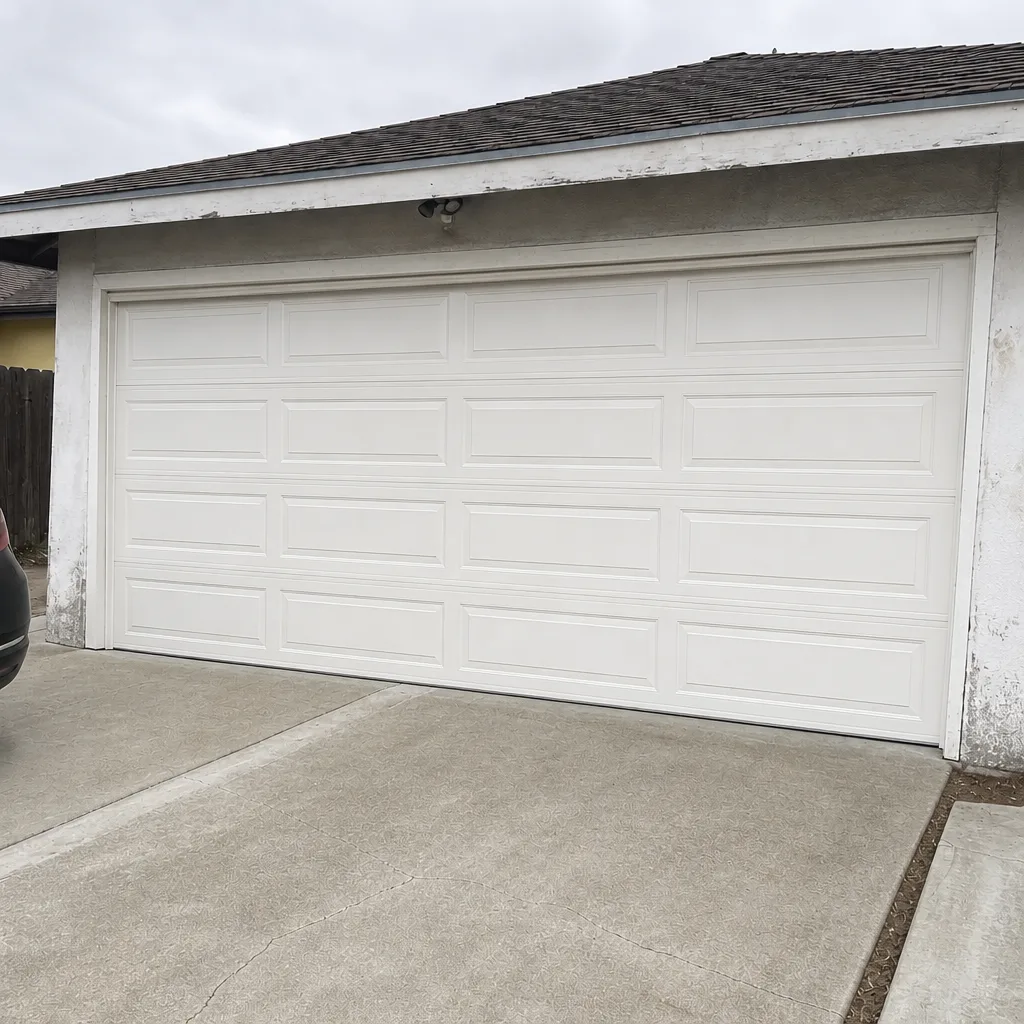 After