
Last updated November 15, 2026
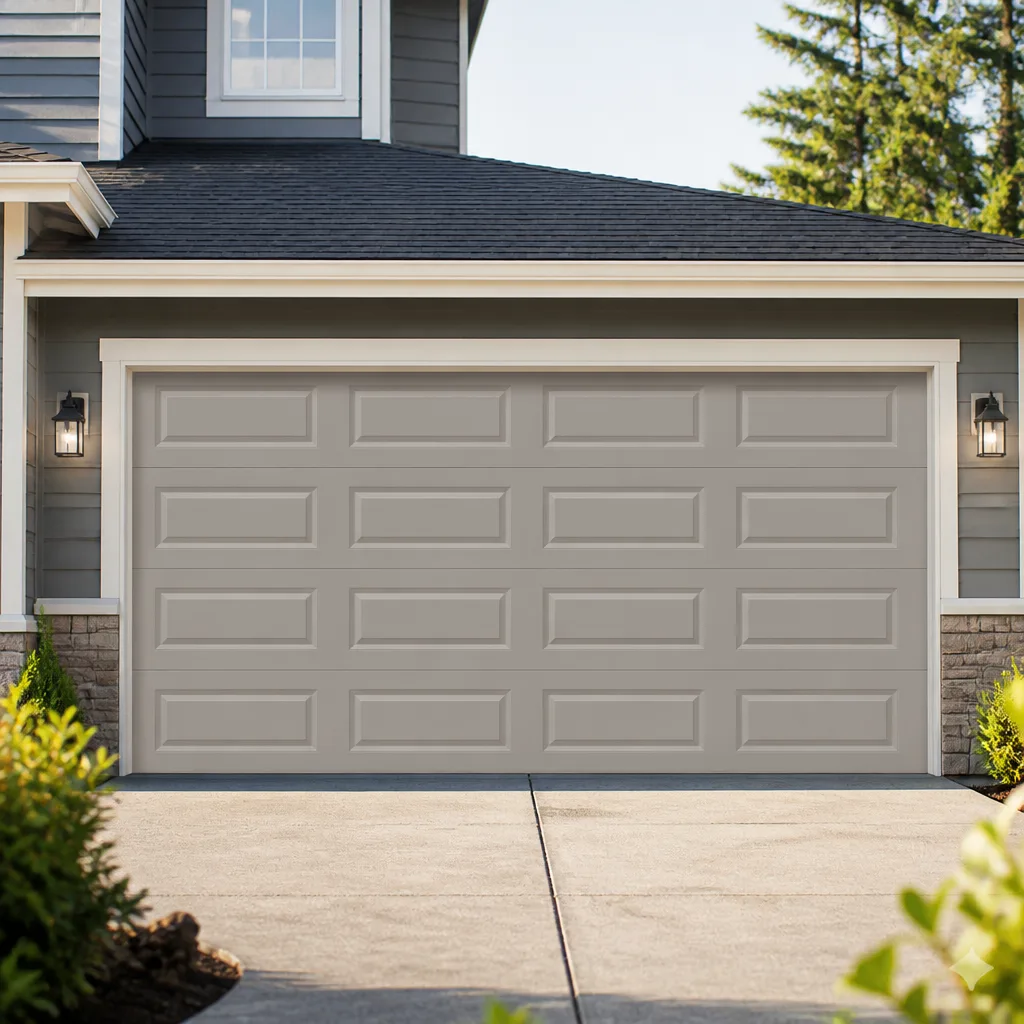 Raised-panel steel
 Carriage house
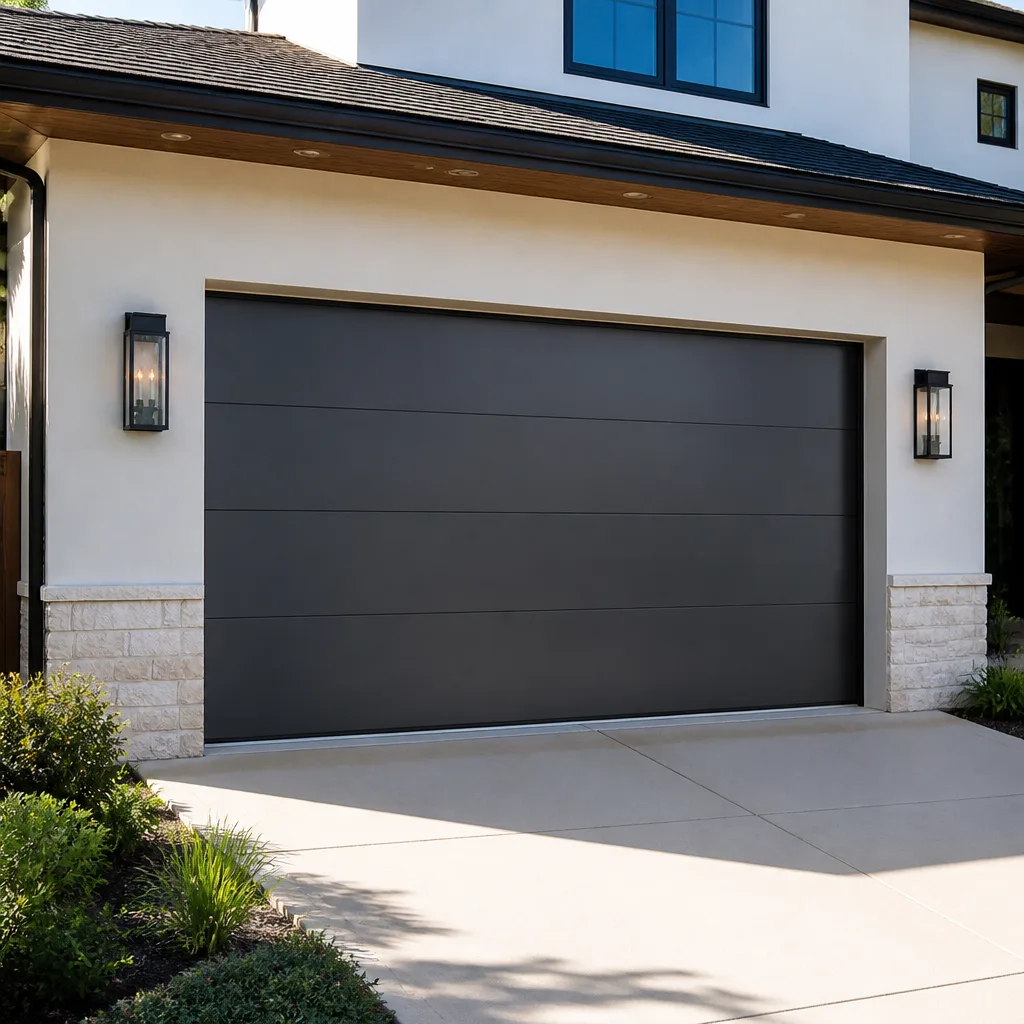 Modern flush
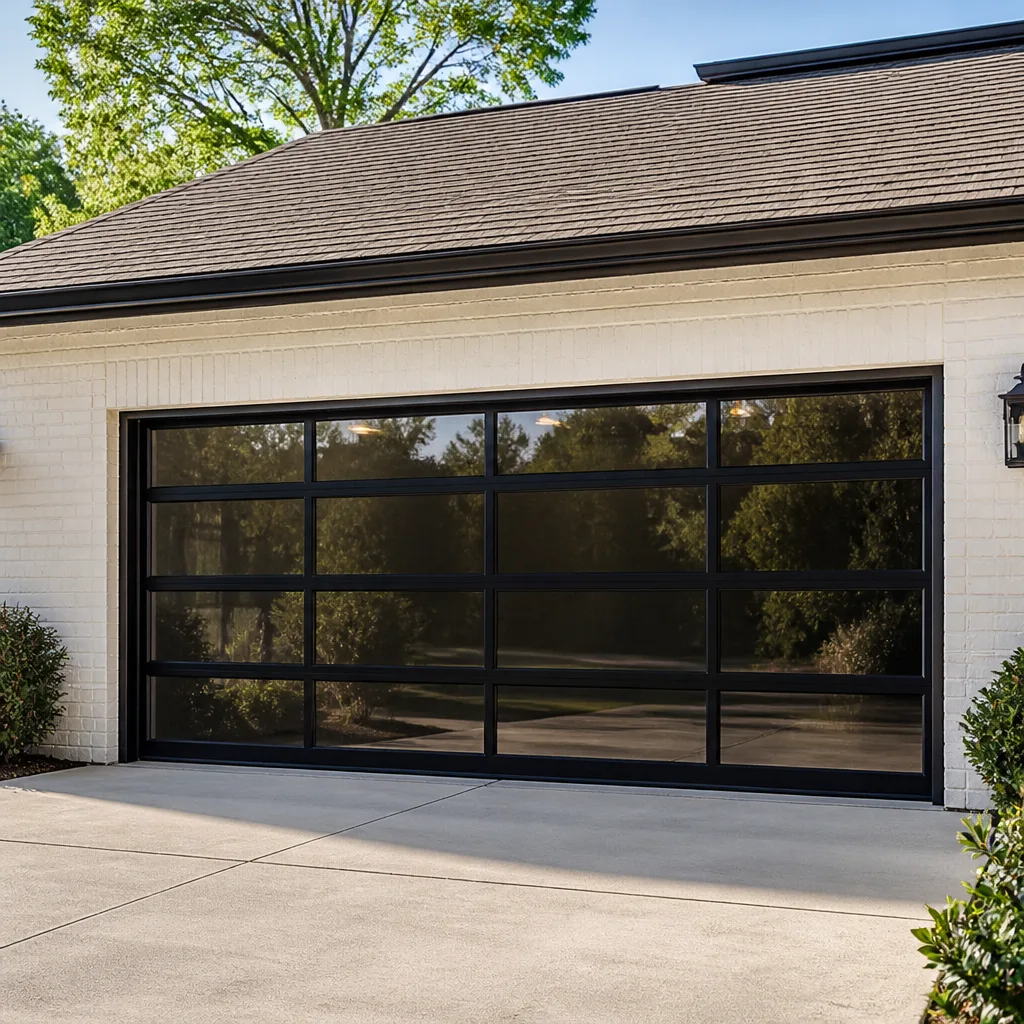 Full-view glass
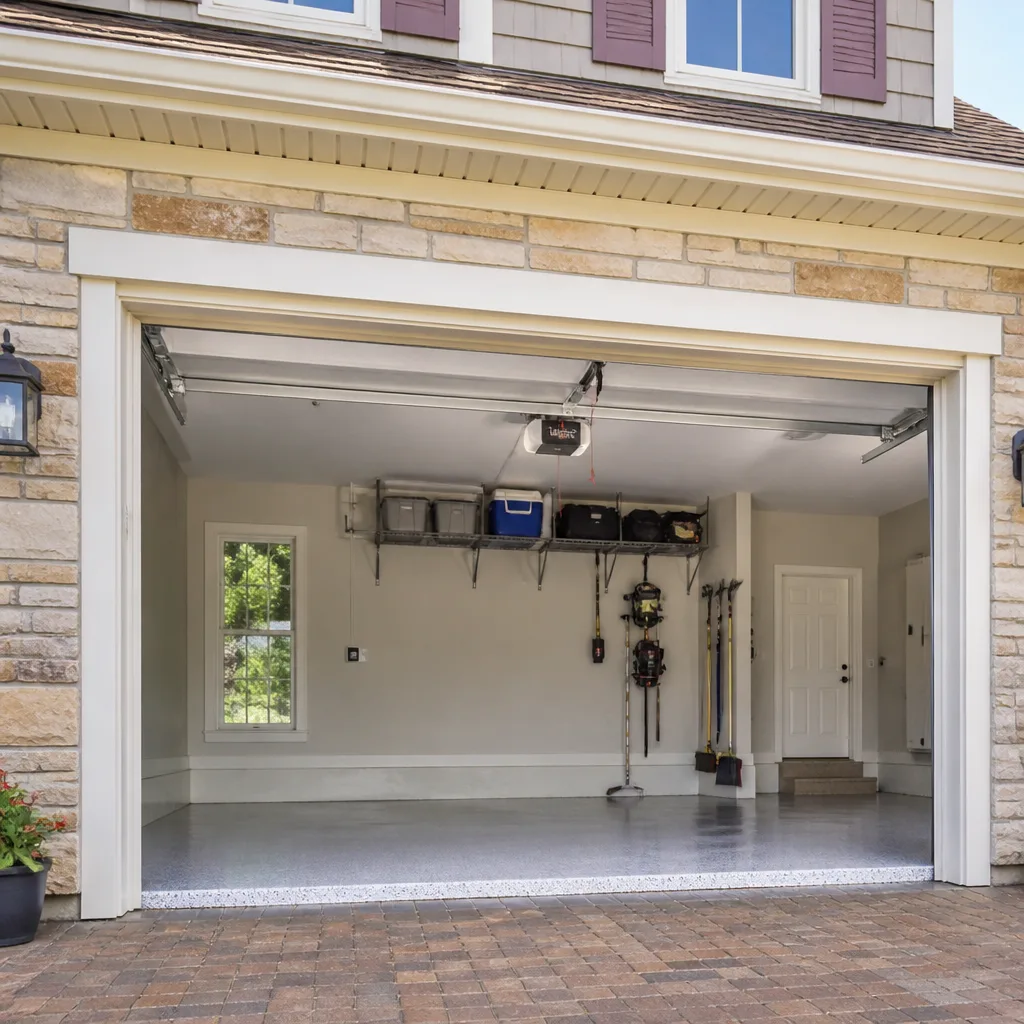 LiftMaster openers
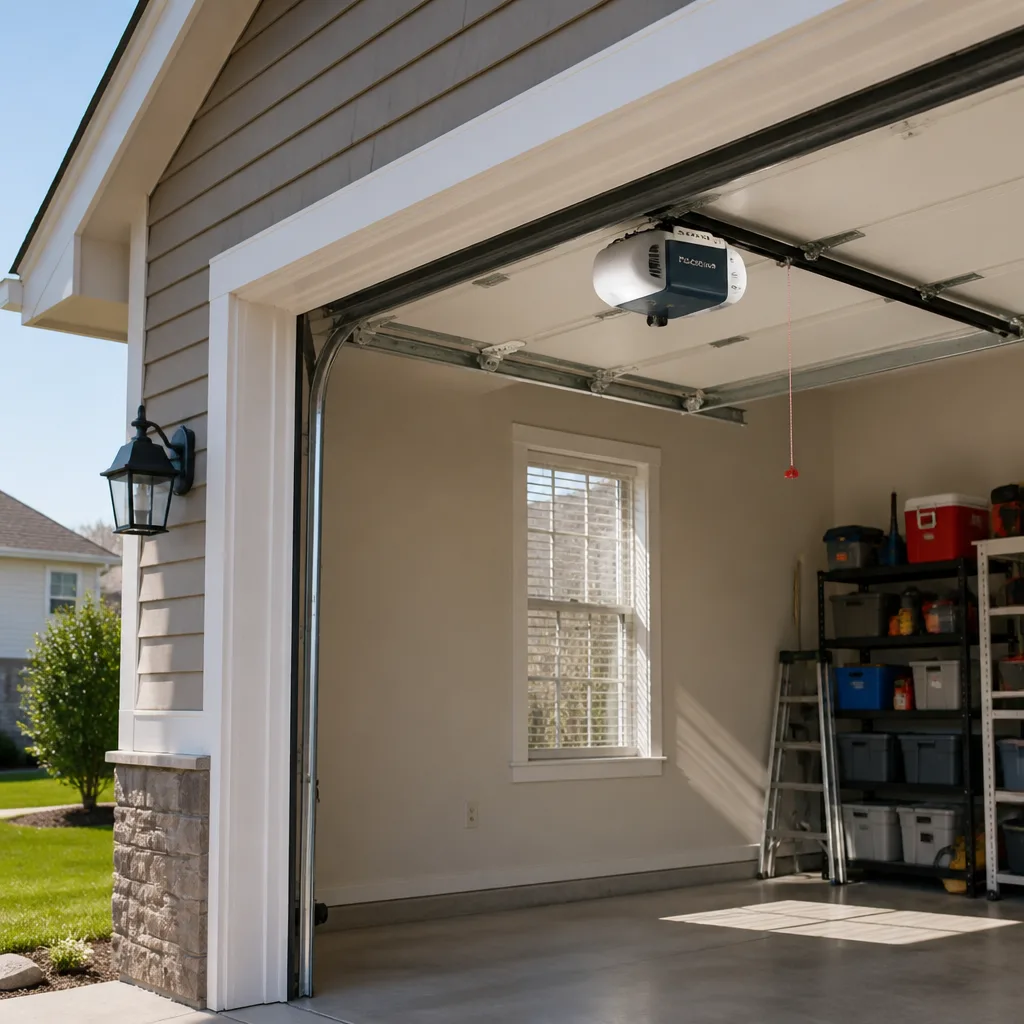 Chamberlain openers
Full 25-point door and opener safety check with every visit - springs, cables, rollers, tracks, and your LiftMaster or Chamberlain opener included
You get a price before we start. It does not change when the pro arrives.
Get your free estimateGarage Door Repair Maintenance Checklist for Santa Maria Homeowners
Most garage door checklists floating around the internet are written once and copied everywhere. They tell you to lubricate your springs, tighten your bolts, and call it a season. What they leave out is the part that actually matters: your Clopay torsion system and your neighbor’s LiftMaster belt-drive opener don’t want the same lubricant, the same torque, or the same adjustment schedule. Using the wrong product on a torsion spring can accelerate wear and, on some doors, put your warranty at risk. This guide is organized by what’s actually hanging on your door, not by what’s easiest to write about. You’ll learn which checks take ten seconds, which need a technician, and how Santa Maria’s temperature swings change what your door needs.
Quick Answer
A garage door maintenance checklist for Santa Maria should cover monthly safety reversal testing, quarterly lubrication with a product matched to your specific hardware (silicone or lithium on torsion springs, manufacturer-specified lubricant on screw-drive and belt-drive tracks), and an annual balance and hardware inspection timed to the season change. Match every task to your door and opener brand, because Clopay, LiftMaster, Chamberlain, and Genie systems each call for different products and intervals.
Styles & brands we work with
- Raised-panel steel
- Carriage house
- Modern flush
- Full-view glass
- LiftMaster openers
- Chamberlain openers
Table of Contents
- Why a Brand-Specific Checklist Beats a Generic One
- The 10-Second Safety Reversal Test You Should Never Skip
- Brand-Specific Lubrication: Genie vs. LiftMaster vs. Belt-Drive
- Seasonal Balance Checks and Santa Maria’s Temperature Swings
- The Visual Inspection Sequence That Catches 80% of Problems
- Which Tasks Are Safe for Homeowners and Which Need a Technician
- Your Monthly, Quarterly, and Annual Maintenance Schedule
- Common Mistakes to Avoid
- When to Call a Professional
Why a Brand-Specific Checklist Beats a Generic One
Walk down any street in Santa Maria and you’ll find a mix of door and opener brands that a generic checklist can’t account for. One house has a Clopay steel door on a torsion spring system. Next door, a LiftMaster chain-drive opener pulls a Wayne Dalton sectional. Down the block, a Chamberlain belt-drive runs quiet because someone chose it for the bedrooms above the garage. Each of those systems has its own lubrication points, its own adjustment tolerances, and its own wear patterns.
A checklist that ignores brand is a list of guesses. Here’s what a brand-aware approach actually changes:
- Lubricant type matters. Torsion springs and hinges want a silicone-based or lithium grease product. Opener rails and drive systems want something different, and some manufacturers specify exactly what to use. Applying the wrong product attracts dust, gums up moving parts, and in some cases voids coverage.
- Adjustment intervals differ. Screw-drive openers on a Genie system develop a different wear signature than a chain-drive on a LiftMaster. The travel limits and force settings need checking on a schedule that matches the drive type.
- Torque specs aren’t universal. Track bolts, hinge screws, and roller brackets have different tolerances across door makes. Over-tightening a Clopay hinge can distort the panel; under-tightening a Chamberlain rail bracket creates a rattle that sounds like a bigger problem.
- Parts availability shapes repair vs. replace. Knowing your exact brand means a technician can diagnose and source the right part rather than guessing at a replacement.
We work on all eight of the major brands (LiftMaster, Chamberlain, Genie, Clopay, Amarr, Wayne Dalton, Craftsman, and Raynor), and the single biggest reason a door fails early is maintenance done for the wrong system. Diagnosed, not guessed. That’s the whole premise of this checklist.
The 10-Second Safety Reversal Test You Should Never Skip
The safety reversal test is the single most important monthly check on any garage door, and it’s the one homeowners skip most often. It takes ten seconds and it’s the difference between a door that stops when something is in its path and one that keeps going. On a door that weighs a hundred-plus pounds, that gap is the whole point of the safety system.
Here’s the sequence. Every month, on every door in the house:
- Close the door fully using the wall control or opener remote.
- Place a 2×4 or similar solid object flat on the floor in the center of the door’s path.
- Open the door, then close it and watch what happens when it contacts the object.
- The door should reverse and travel back up within about two seconds of contact. If it doesn’t, the force setting is wrong or the opener’s safety system needs attention.
Then test the photo-eye system. Most modern openers, including LiftMaster and Chamberlain models, use a pair of sensors mounted about six inches off the floor on each side of the door. With the door open, wave an object across the beam while the door is closing. The door should reverse immediately. If the eyes are misaligned, dirty, or the indicator light is off, the door may not reverse at all. Clean the lenses and check alignment first. If the door still fails either test, stop using the opener and get it looked at.
This check matters more in Santa Maria than the checklist crowd admits. Our doors run most days of the year, which means the safety system cycles far more often than on a door that sits through a long winter. More cycles means more wear on the force settings and the photo-eye alignment.
Brand-Specific Lubrication: Genie vs. LiftMaster vs. Belt-Drive
Lubrication is where generic checklists do the most damage. The right product depends on the drive system, and using the wrong one can turn a quiet opener into a noisy one or void a warranty. Here’s how to match the product to what you actually own.
Screw-Drive Openers (common on Genie systems)
Screw-drive openers use a threaded steel rod that turns to move the trolley. The manufacturer specifies a particular lubricant for that screw, and applying the wrong grease attracts grit and accelerates wear. Check your opener manual for the specified product. Never use WD-40 or a general-purpose spray on the screw – it strips the intended lubricant and leaves the drive dry.
Chain-Drive Openers (common on LiftMaster and Chamberlain systems)
Chain-drive openers want a light coating on the chain and the rail, not a heavy grease. A lithium-based product applied sparingly to the chain and pivot points works well. Too much lubricant on the chain attracts dust and turns into a paste that accelerates wear. The rail guide also needs a light wipe, not a coat.
Belt-Drive Openers (LiftMaster and Chamberlain quiet models)
Belt-drive systems are the quiet option, and they want the least lubrication of any drive type. The belt itself never gets lubricated. The moving parts that benefit are the trolley, the rail, and the hinges. A silicone spray on those points is enough. Never apply anything to the belt.
Door Hardware (springs, hinges, rollers)
On the door itself, the torsion springs, hinges, and roller stems benefit from a silicone-based lubricant applied two to three times a year. The torsion spring is under extreme tension – never adjust it yourself, and if you’re lubricating around it, do so from a safe distance without touching the spring itself. The rollers want a light coating on the stem, not the wheel. Avoid the tracks entirely – clean them with a dry cloth, never lubricate them.
For the opener electronics and drive system, our garage door opener repair technicians work on belt, chain, and screw drives and can tell you exactly what your specific model calls for.
Seasonal Balance Checks and Santa Maria’s Temperature Swings
Santa Maria runs mild, but mild doesn’t mean static. Our temperature swings from cool mornings to warm afternoons shift the metal in your door and the tension in your springs. That expansion and contraction is real, and it changes door balance more than most homeowners realize.
How to test door balance
With the opener disengaged (pull the red release handle on the trolley), the door should be liftable by hand and should hold its position when you let go at roughly waist height.
- Disconnect the opener using the release cord.
- Lift the door to about halfway and let go.
- A balanced door stays put. A door that drops fast is out of balance and needs adjustment. A door that rises on its own is also out of balance.
- Reconnect the opener only after checking the door moves freely by hand.
Balance shifts are the leading symptom of spring wear. Torsion springs lose tension over thousands of cycles, and the change accelerates in a door that’s out of balance. If you notice the door feels heavier than it used to, the springs are telling you something.
Seasonal timing in Santa Maria
The best time to schedule an annual balance and hardware inspection is when the seasons shift – typically spring and fall, when temperatures move most. The August-to-October stretch is when we see the most balance complaints because the door has run at high cycle count through the warm months. Check balance when the door feels different, not just when the calendar says so. If your door has been running heavy since the last heat wave, that’s the signal.
For doors that need more than adjustment, our garage door repair team handles spring, cable, and track issues that affect balance.
The Visual Inspection Sequence That Catches 80% of Problems
Most garage door failures announce themselves months before they become emergencies. The trick is knowing what to look at and in what order. Run this sequence once a month. It catches about 80% of problems long before they leave you stuck in the driveway.
Step 1: Bottom seal and weatherstripping
Close the door and look across the entire bottom edge from inside the garage. You’re looking for daylight. Any light coming through means the seal isn’t making contact, which lets in dust, insects, and hot air. Check the seal for cracks, brittleness, or sections that have pulled loose from the retainer. The rubber hardens with age and heat; a Santa Maria summer will do that faster than a cooler climate.
Step 2: Panel joints and hinges
Walk the door from the bottom up. Look at each hinge for loose screws, cracks in the metal, or rust. Look at the panel joints where sections meet – a distorted or misaligned panel is a sign of impact or track damage. Check the top section for sagging.
Step 3: Cables and drums
The lift cables run up each side of the door to drums at the top. Visually inspect for fraying, kinks, or slack. Cables are under extreme tension and are one of the two components you should never touch yourself (springs are the other). If a cable looks worn, that’s a call.
Step 4: Tracks
Run your hand along the tracks (with the door up) looking for dents, bends, or debris. A slightly bent track causes the door to bind and puts stress on the opener. Never lubricate tracks – they should be clean and dry.
Step 5: Rollers
Check each roller for flat spots, cracks, or a wheel that wobbles on its stem. Worn rollers cause the door to run rough and are one of the most common causes of opener strain.
This sequence takes about three minutes and doesn’t require a ladder. The bottom seal check alone – done once a month – keeps small weatherstripping problems from becoming water and pest entry issues that have nothing to do with the door mechanism.
Which Tasks Are Safe for Homeowners and Which Need a Technician
The line between safe DIY and don’t-touch-it is clearer than most checklists admit. Here’s the honest split.
Safe for homeowners
- Visual inspections – bottom seal, weatherstripping, panel joints, cables, tracks, rollers.
- The safety reversal test – monthly, using the 2×4 and photo-eye checks.
- Cleaning tracks with a dry cloth.
- Lubrication of door hardware – hinges, roller stems, torsion spring (from a safe distance, not touching the spring). Silicone-based products.
- Lubrication of the opener drive – matched to the drive type, per the manual.
- Replacing the photo-eye alignment if you can see the brackets are knocked askew (loosen, adjust, retighten).
- Replacing a bottom seal or weatherstripping on most residential doors.
Requires a trained technician
- Any adjustment to torsion springs or extension springs. A torsion spring is under extreme tension. Touching the winding bars or adjusting tension without training can cause serious injury.
- Cable replacement or adjustment – same danger level as springs, and cables are under tension too.
- Track alignment – a track bent back into place by force can distort the door or the opener.
- Opener force and travel limit adjustment – the safety reversal depends on these settings being correct, and an incorrect adjustment can defeat the safety system.
- Panel replacement – a misaligned panel can bind the door and damage the opener.
- Any repair involving the opener electronics, logic board, or motor.
We make this split explicit because it’s the fastest way to keep a homeowner safe and a door working. Our technicians have up to 15 years of experience, and the calls we take most often are the ones where a homeowner tried a spring adjustment and stopped halfway – which is the right time to call.
Your Monthly, Quarterly, and Annual Maintenance Schedule
Here’s the checklist in calendar form. Print it, stick it on the inside of the garage wall, and work through it.
Monthly
- Safety reversal test (2×4 and photo-eye check).
- Visual strip: bottom seal for daylight, panel joints, cables, tracks, rollers.
- Listen for new sounds – grinding, rattling, or a door that sounds heavier than last month.
Quarterly (every three months)
- Lubricate door hardware: hinges, roller stems, torsion spring (silicon-based, from a safe distance).
- Lubricate the opener drive system matched to your drive type.
- Clean tracks with a dry cloth.
- Check door balance with the opener disengaged.
- Tighten any loose hinge or track bolts (hand-tight, don’t over-torque).
Annually
- Full balance and hardware inspection timed to the season change.
- Professional check of springs, cables, drums, and opener force settings.
- Review the opener’s manual for brand-specific maintenance recommendations.
- Inspect the door’s panel finish for rust or peeling, especially on steel doors.
When something changes
Any time the door sounds different, runs heavier, reverses slowly, or stops reversing at all, move to the top of the list. A door that fails the safety reversal test shouldn’t be used until it’s fixed. We can diagnose issues for our Vandenberg AFB neighbors and across Santa Maria with a free estimate and a written price before any work starts.
Common Mistakes to Avoid
- Using WD-40 on torsion springs or opener rails. It’s a solvent, not a lubricant. It strips the intended product and leaves the part dry, which accelerates wear. Use a silicone or lithium product matched to the component.
- Lubricating the tracks. Tracks should be clean and dry. Lubricant on a track turns into a dust magnet and causes the door to bind. The most common cause of a door that runs rough is over-lubrication, not under-lubrication.
- Skipping the safety reversal test because “it worked last month.” The force settings and photo-eye alignment shift with temperature changes and normal wear. A door that reversed last month may not reverse this one. Test it monthly.
- Adjusting the opener force setting to fix a door that runs heavy. A heavier door is usually a balance or spring problem. Turning up the force on the opener masks the symptom and strains the motor. Fix the cause.
- Assuming your door is the same as your neighbor’s. A Clopay door on a Liebherr opener and a Chamberlain belt-drive on a Wayne Dalton sectional want different products and intervals. A checklist written for the wrong system does more harm than no checklist.
- Ignoring the bottom seal through the summer. The seal hardens with heat and pulls away from the retainer. A seal that fails lets dust, insects, and hot air in, and the fix is cheap if caught early.
- Touching a torsion spring. This is the one component where the danger is real. A torsion spring stores enough energy to cause serious injury. Adjusting it without the right training and tools is a stop-and-call-a-technician situation, not a weekend project.
When to Call a Professional
Call a professional when the safety reversal test fails, when the door runs noticeably heavier than before, when you see a frayed or slack cable, when the door is visibly out of balance, or when the opener makes a grinding or straining sound that wasn’t there last month. Also call if the door is stuck partway, if a panel is damaged, or if you’ve had a garage break-in and need to assess door damage. Any spring or cable issue is a call, no exceptions – those components are under too much tension for a homeowner to touch safely.
Halo Garage Door Repair offers free estimates in Santa Maria – call (866) 361-7506. We answer 24/7. Fast dispatch from 7am to 7pm, Sunday through Friday. The written estimate you receive is the price, and nothing starts without your agreement.
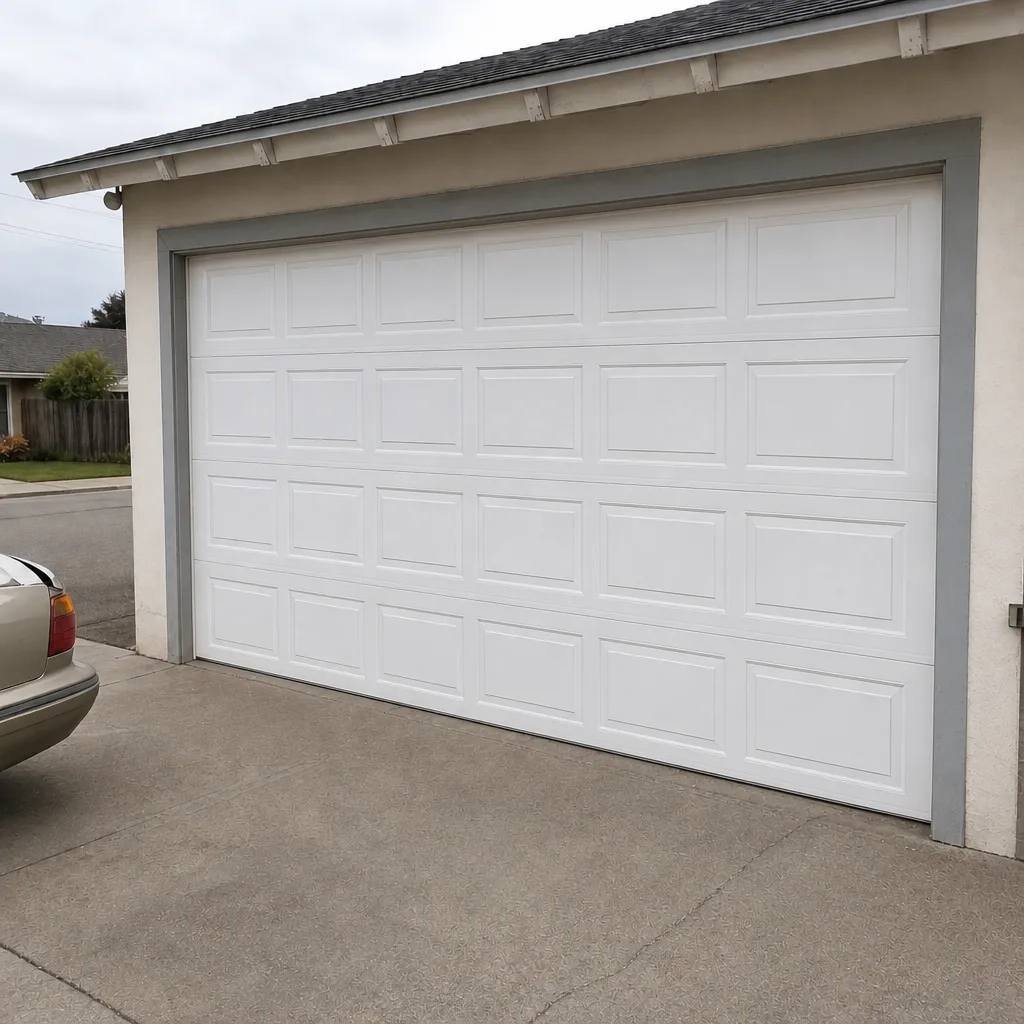
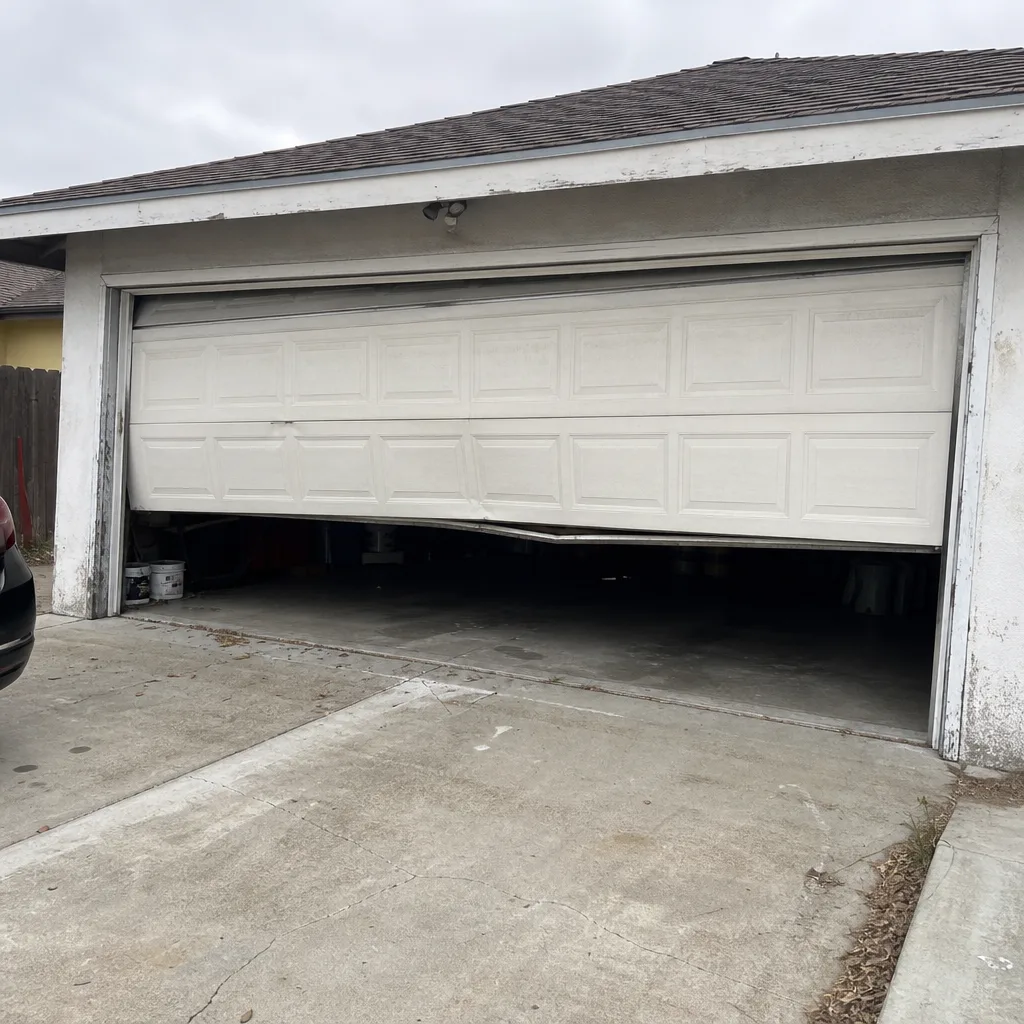
See the difference
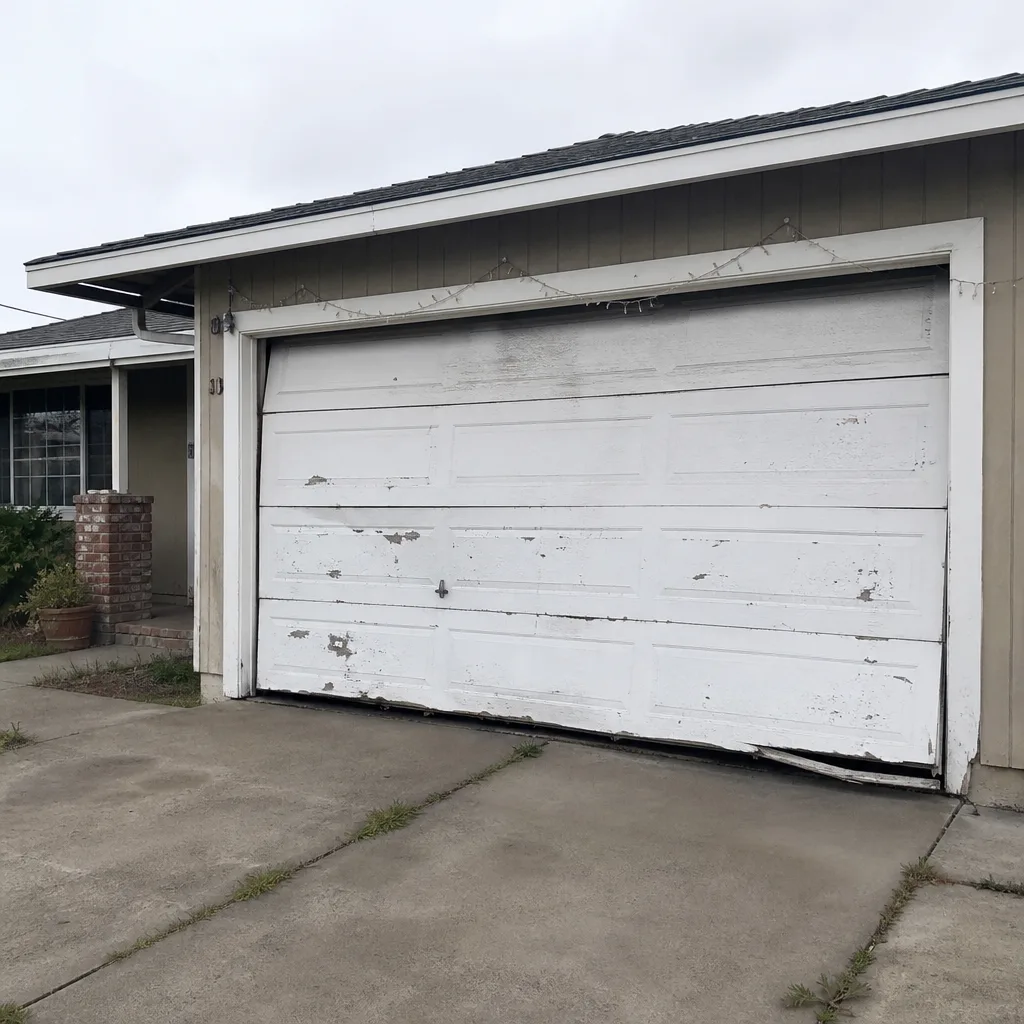 Before
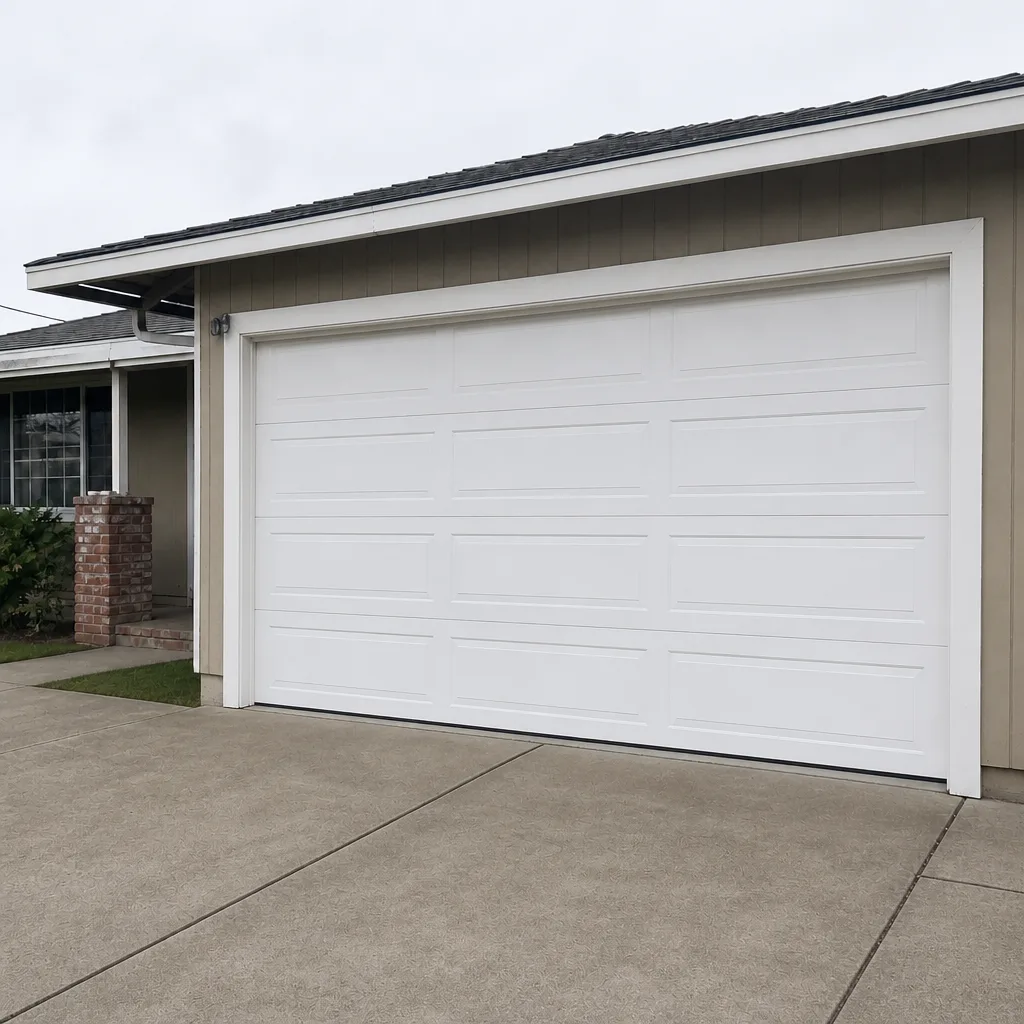 After
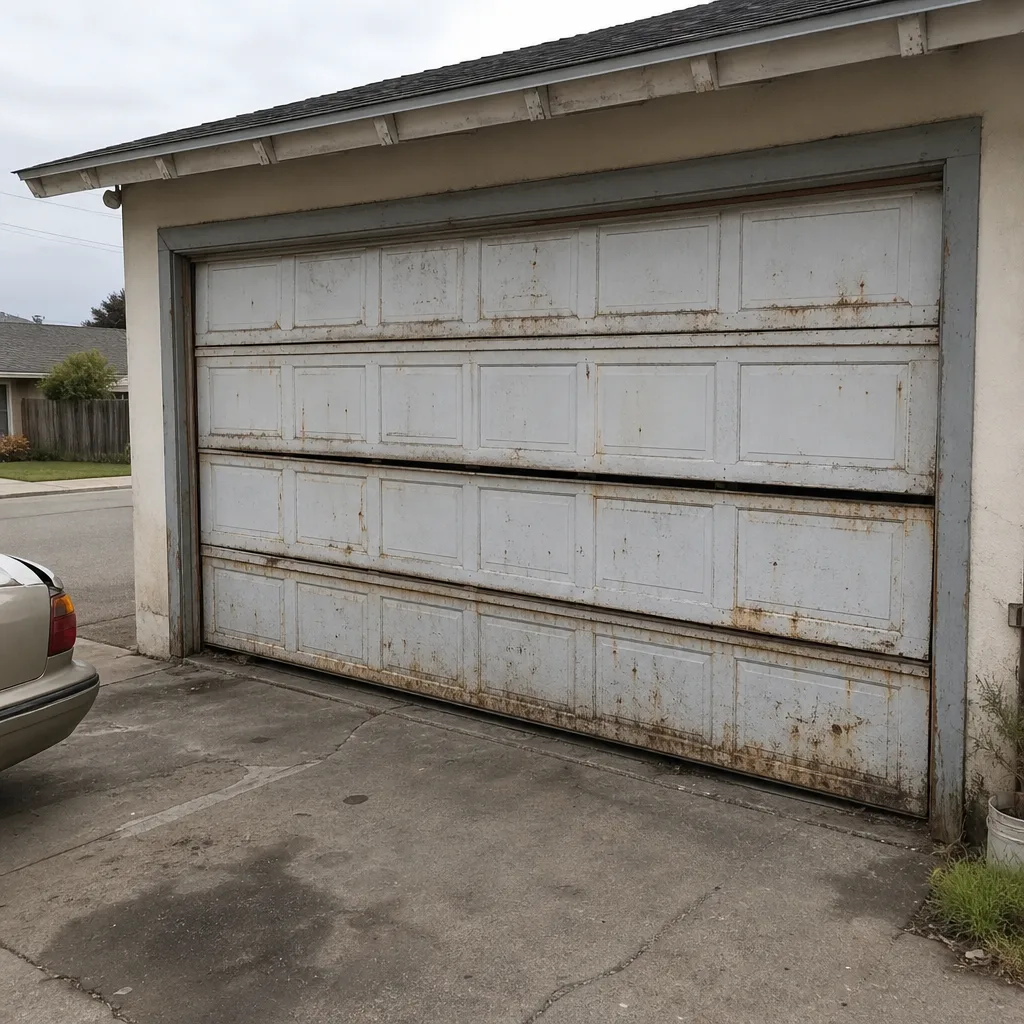 Before
 After
 Before
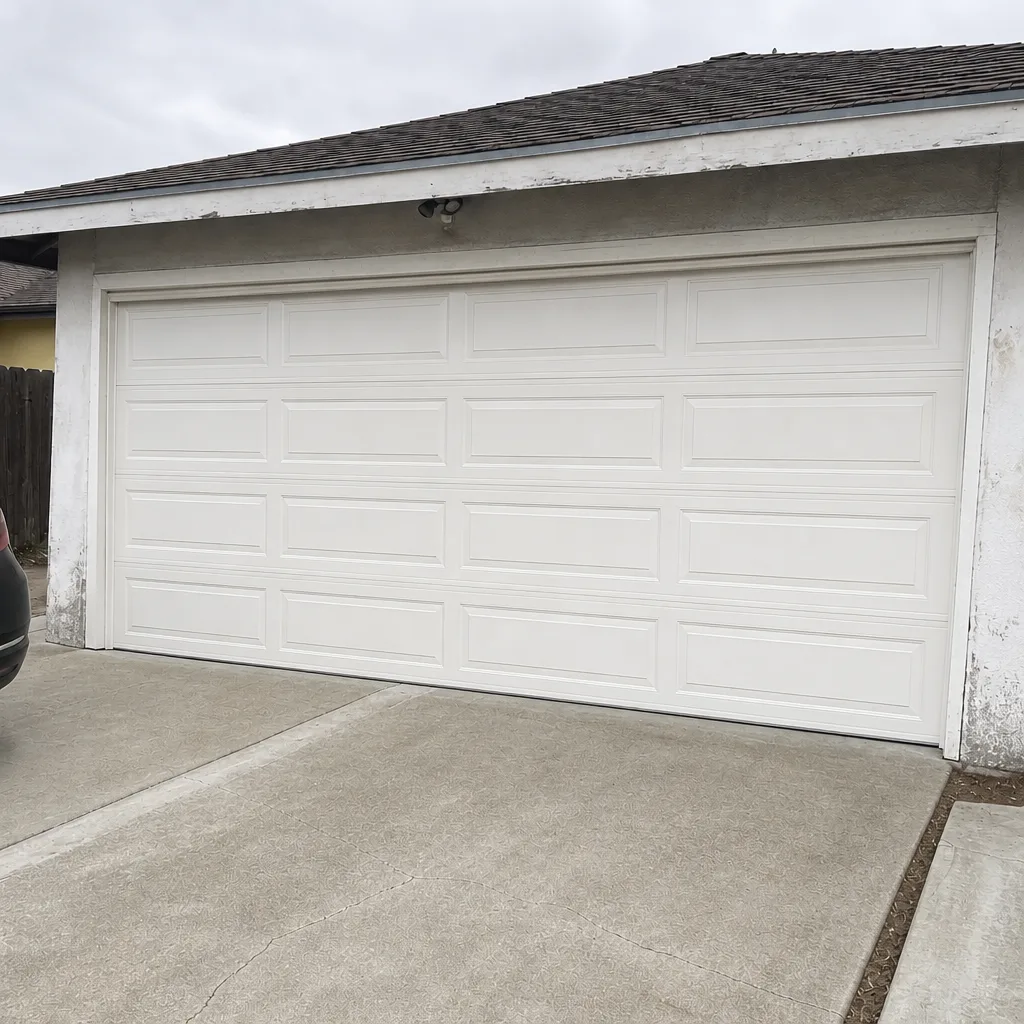 After
Frequently Asked Questions
Two to three times a year on the door hardware (hinges, roller stems, torsion spring from a safe distance) and matched to your opener’s drive type for the opener itself. In Santa Maria’s mild climate, the door cycles more often than in colder regions, so the twice-a-year minimum is the right starting rhythm.
A light lithium-based product applied sparingly to the chain and pivot points on chain-drive models, and a silicone spray on the trolley and rail on belt-drive models. Never apply anything to the belt itself, and check the manual for the exact product your model specifies.
No. A torsion spring stores extreme tension, and adjusting it without the right training, tools, and technique can cause serious injury. Call a technician for any spring or cable adjustment. We can walk you through what to check safely and what to leave alone.
Disconnect the opener with the release handle, lift the door to about halfway, and let go. A balanced door stays in place. A door that drops fast or rises on its own is out of balance and needs adjustment.
The monthly safety reversal test. It’s the check that confirms the door will stop when something is in its path. If it fails, the door shouldn’t be used until it’s fixed. It takes ten seconds and it’s the one check that directly prevents injury.
No. The written estimate you receive before any work starts is the price. Diagnosis can reveal a different problem than expected, and if that happens we’ll discuss it before doing any work. Call (866) 361-7506 for an exact quote – estimates are free.
The Bottom Line
A garage door maintenance checklist for Santa Maria should be organized around what you actually own, not around a generic template. Match your lubrication to the drive type. Run the safety reversal test monthly. Check balance when the seasons shift. Know the difference between a task you can handle safely and one that belongs with a technician. Halo Garage Door Repair works on all eight of the major door and opener brands, so your LiftMaster, Chamberlain, Genie, or Clopay system gets a diagnosis rather than a guess. Safe, balanced, and done right is the standard every job ends on. Whether you’re in Santa Maria or nearby, our Halo Garage Door Repair team is a call away when the checklist says it’s time.
Written by the team at Halo Garage Door Repair.